Theta S auto level bash script

This is a quick repost of one of a blog entry which might interest people.

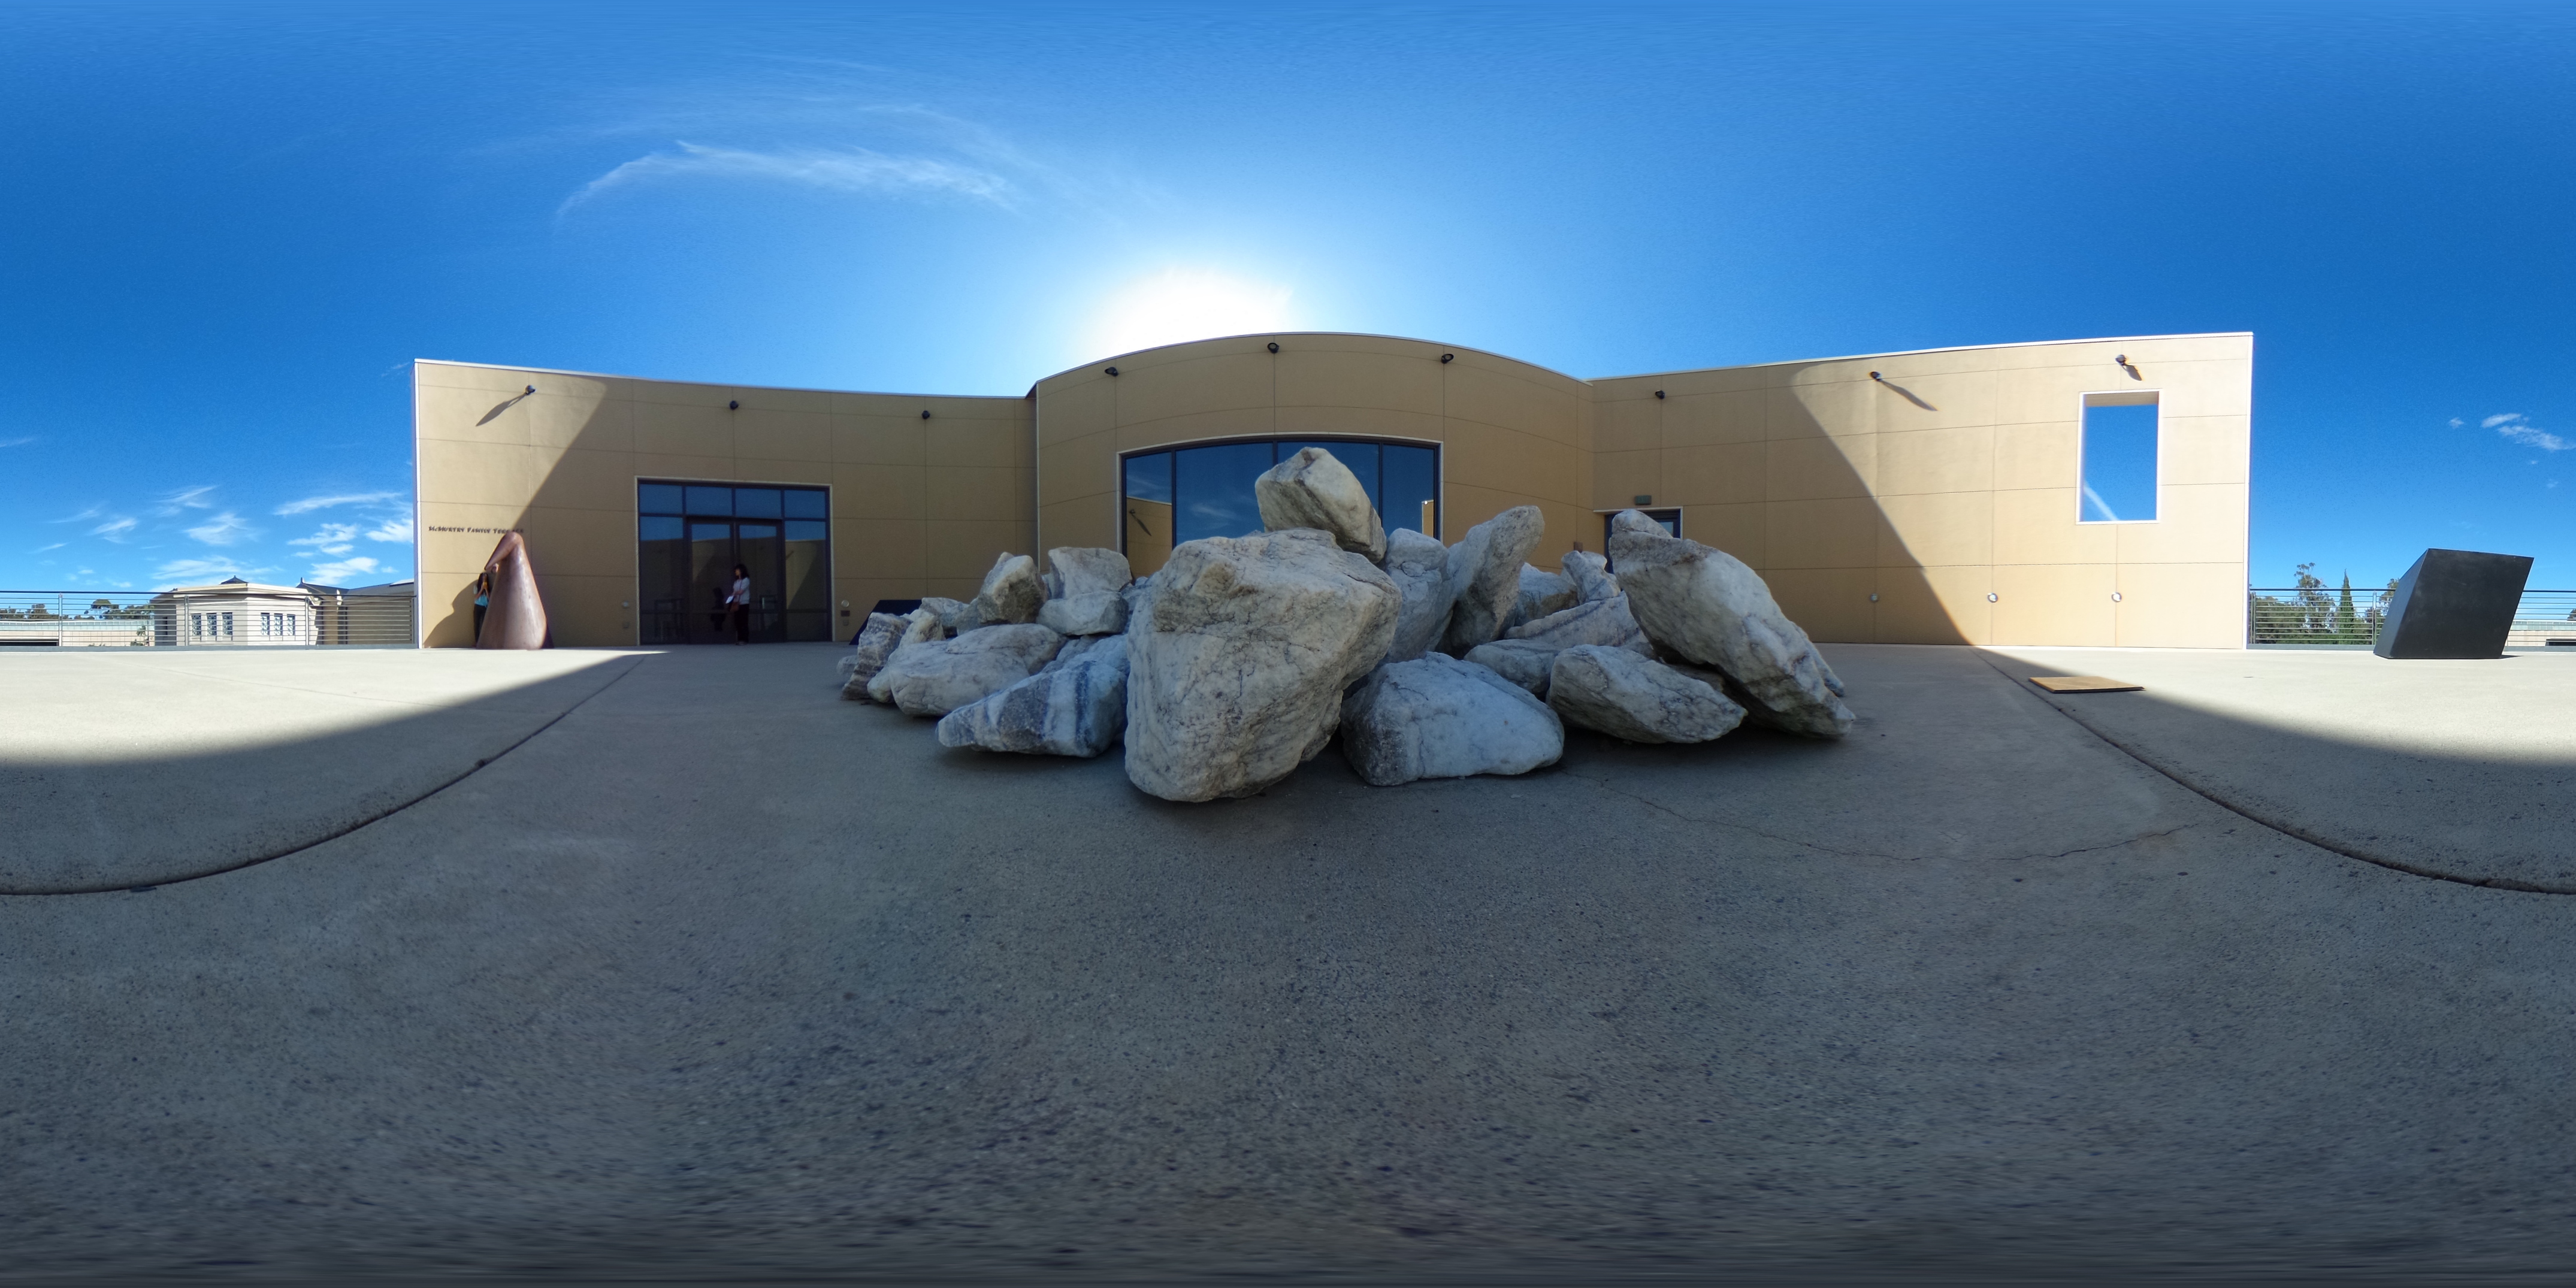
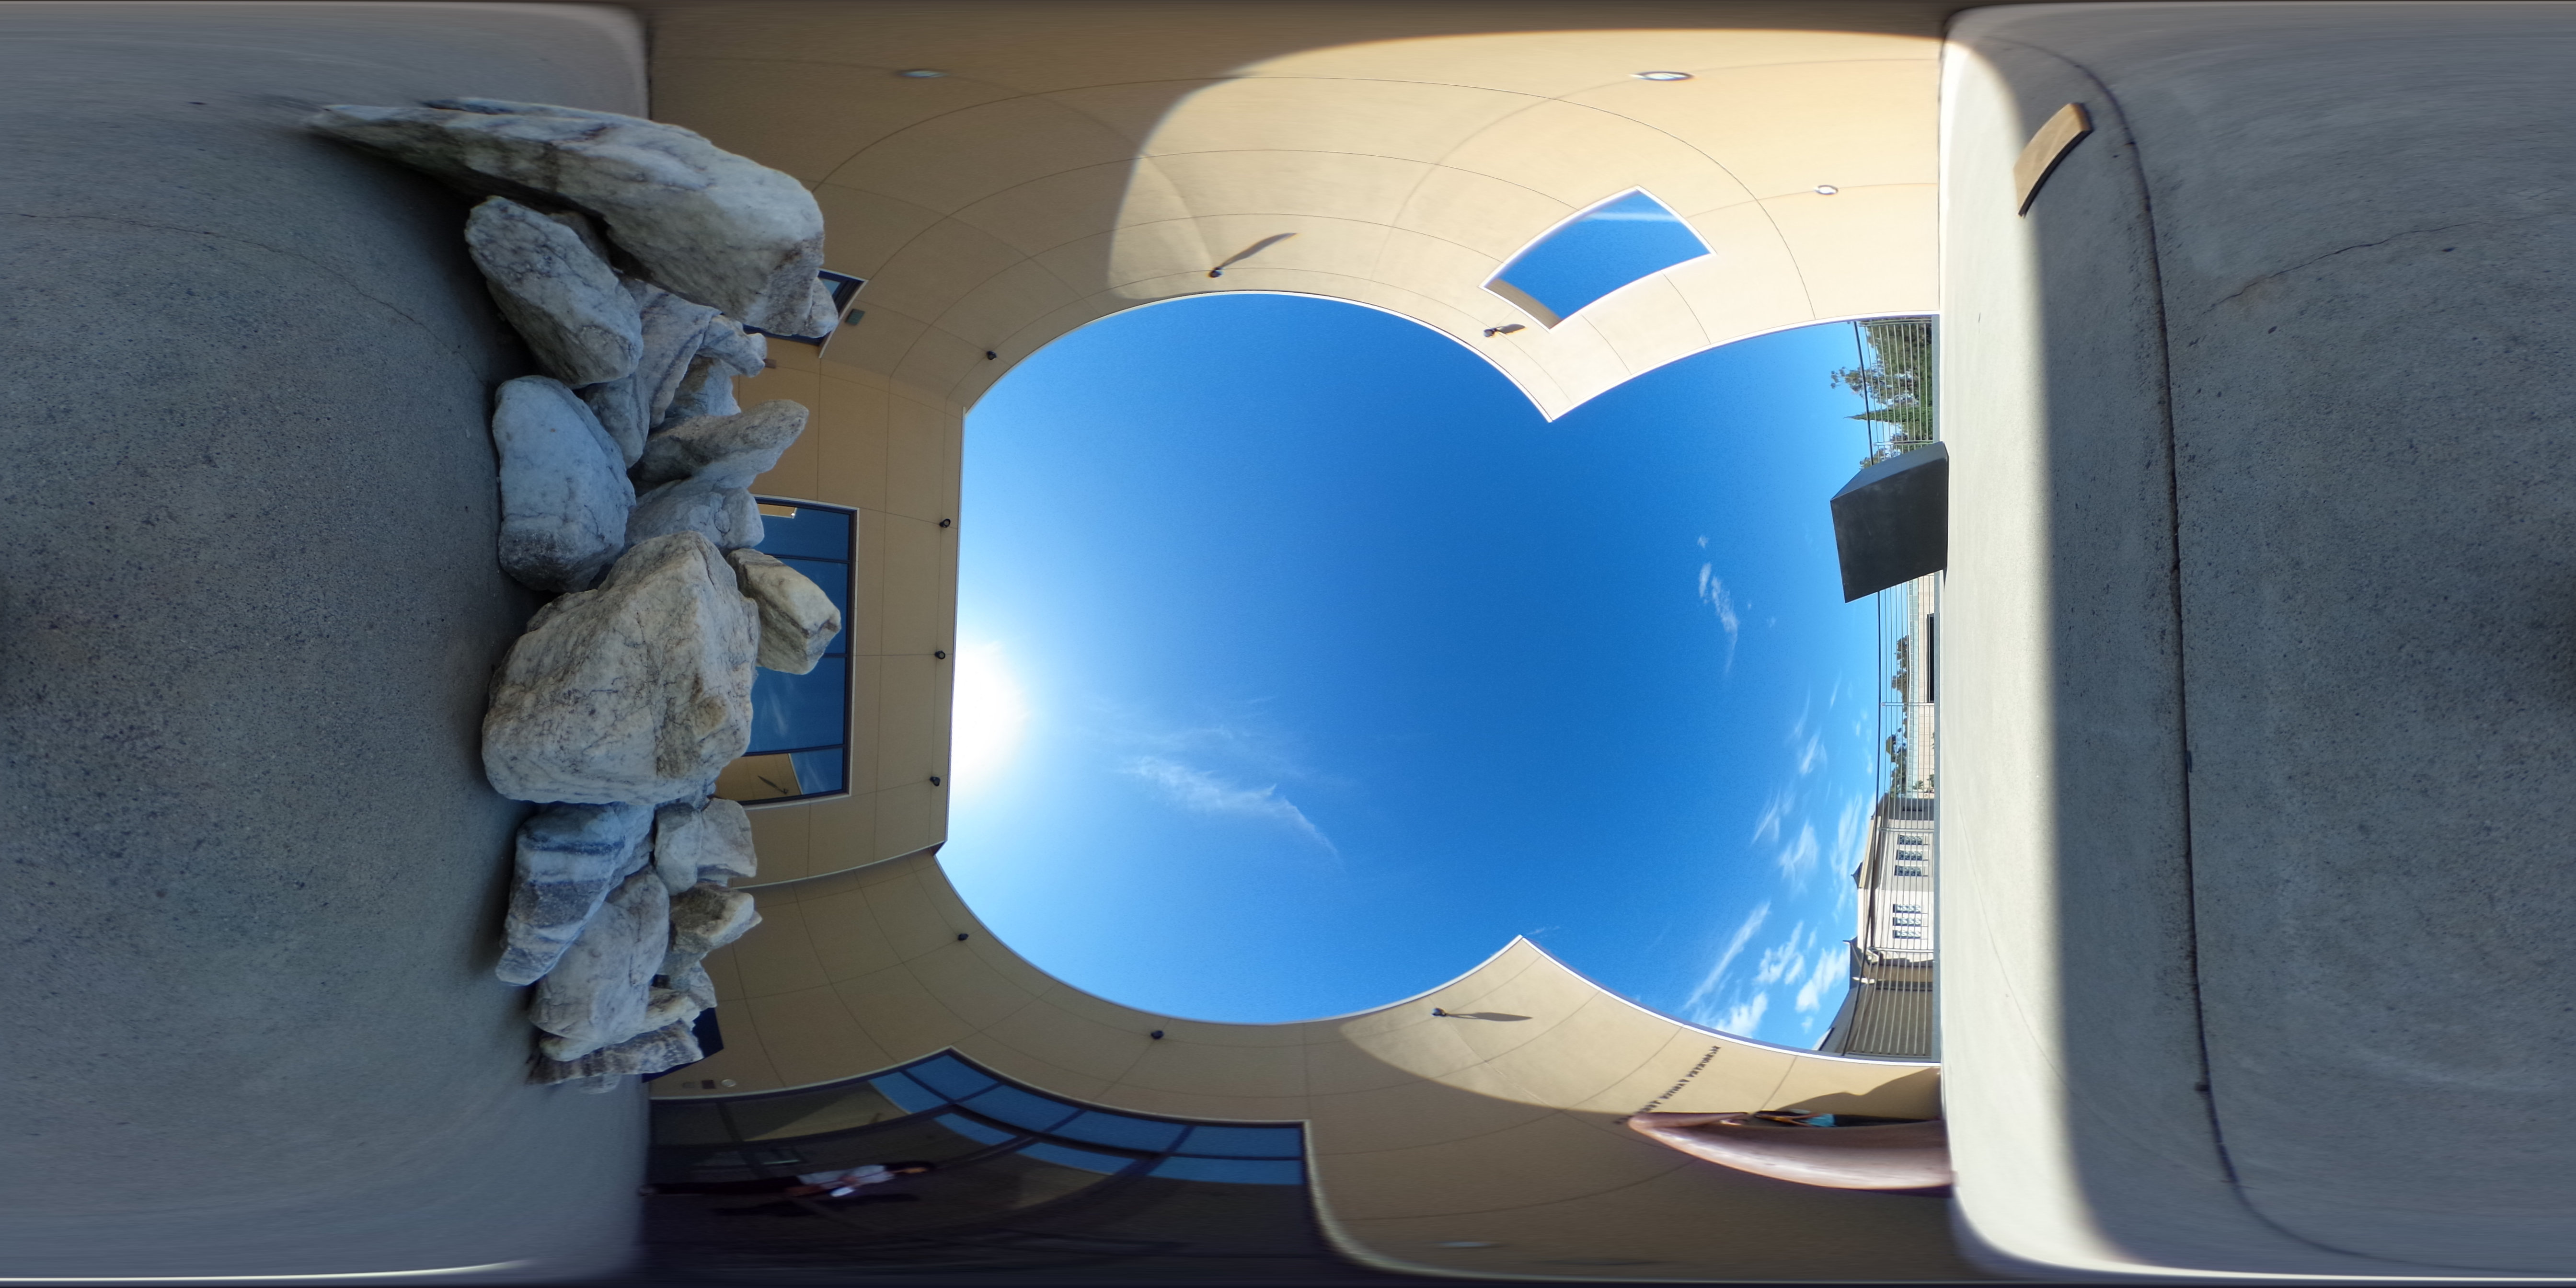
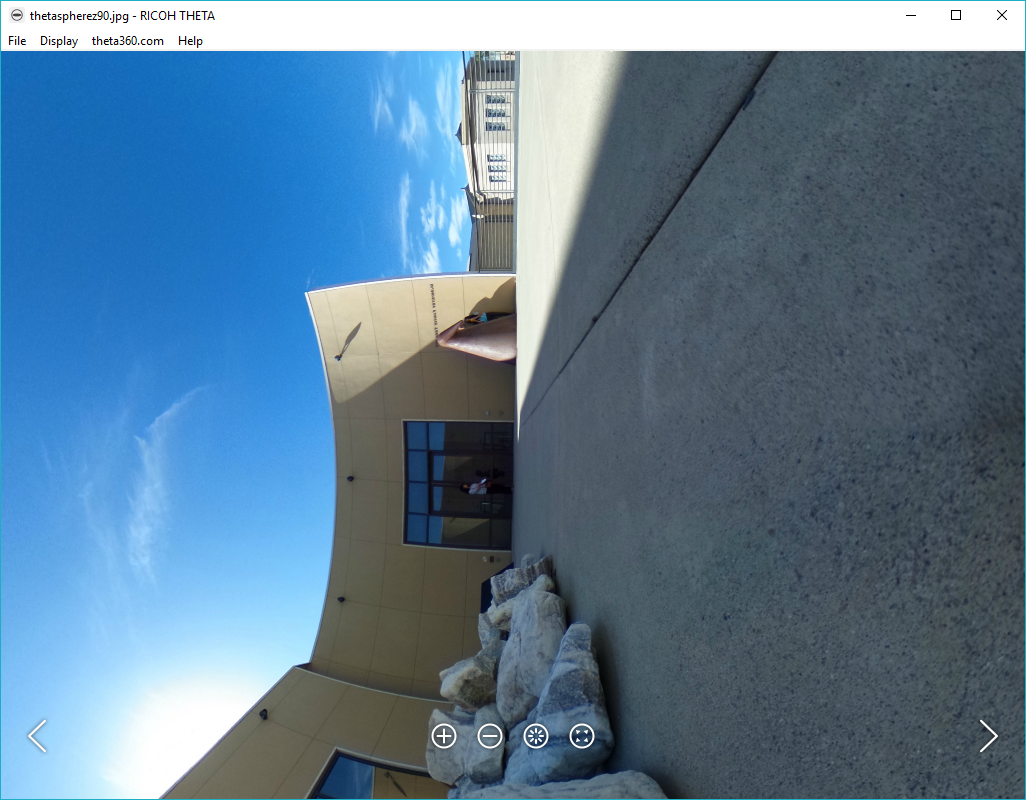
My Virtual Forest project is still running strong and generates tons of spherical images (currently ~50GB). However, the post on which the camera sits is not perfectly level. The Theta S camera normally compensates for this using an internal gyroscope which detects pitch and roll of the camera. Yet, when downloading images directly from the camera no adjustments are made and the pitch and roll data is merely recorded in the EXIF data of the image.

As such I wrote a small bash script which rectifies (levels the horizon) in Theta S spherical images using this internal EXIF data. This is an alternative implementation to the THETA EXIF Library by Regen. I use his cute Lama test images for reference. All credit for the funky images go to Regen. Below is the quick install guide to using my script. I hope it helps speed up people’s Theta S workflow.

Install

Download, fork or copy paste the script from my github repository to your machine and make it executable.

$ chmod +x theta_rectify.sh

Use

$ theta_rectify.sh image.jpg

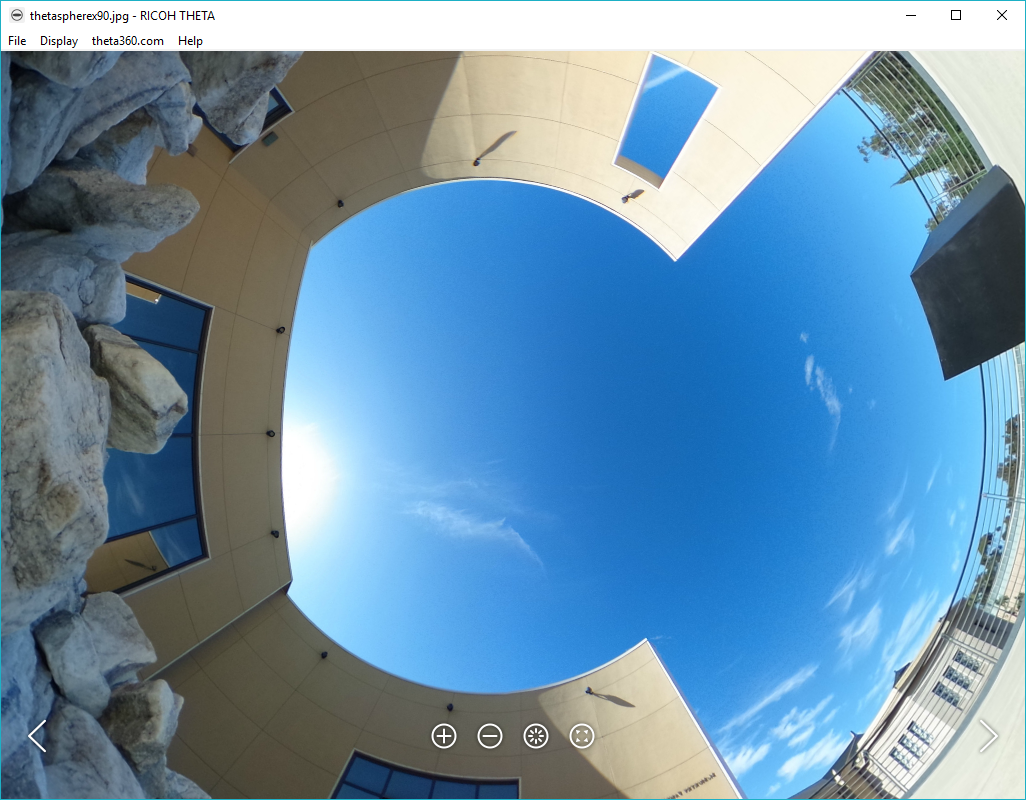
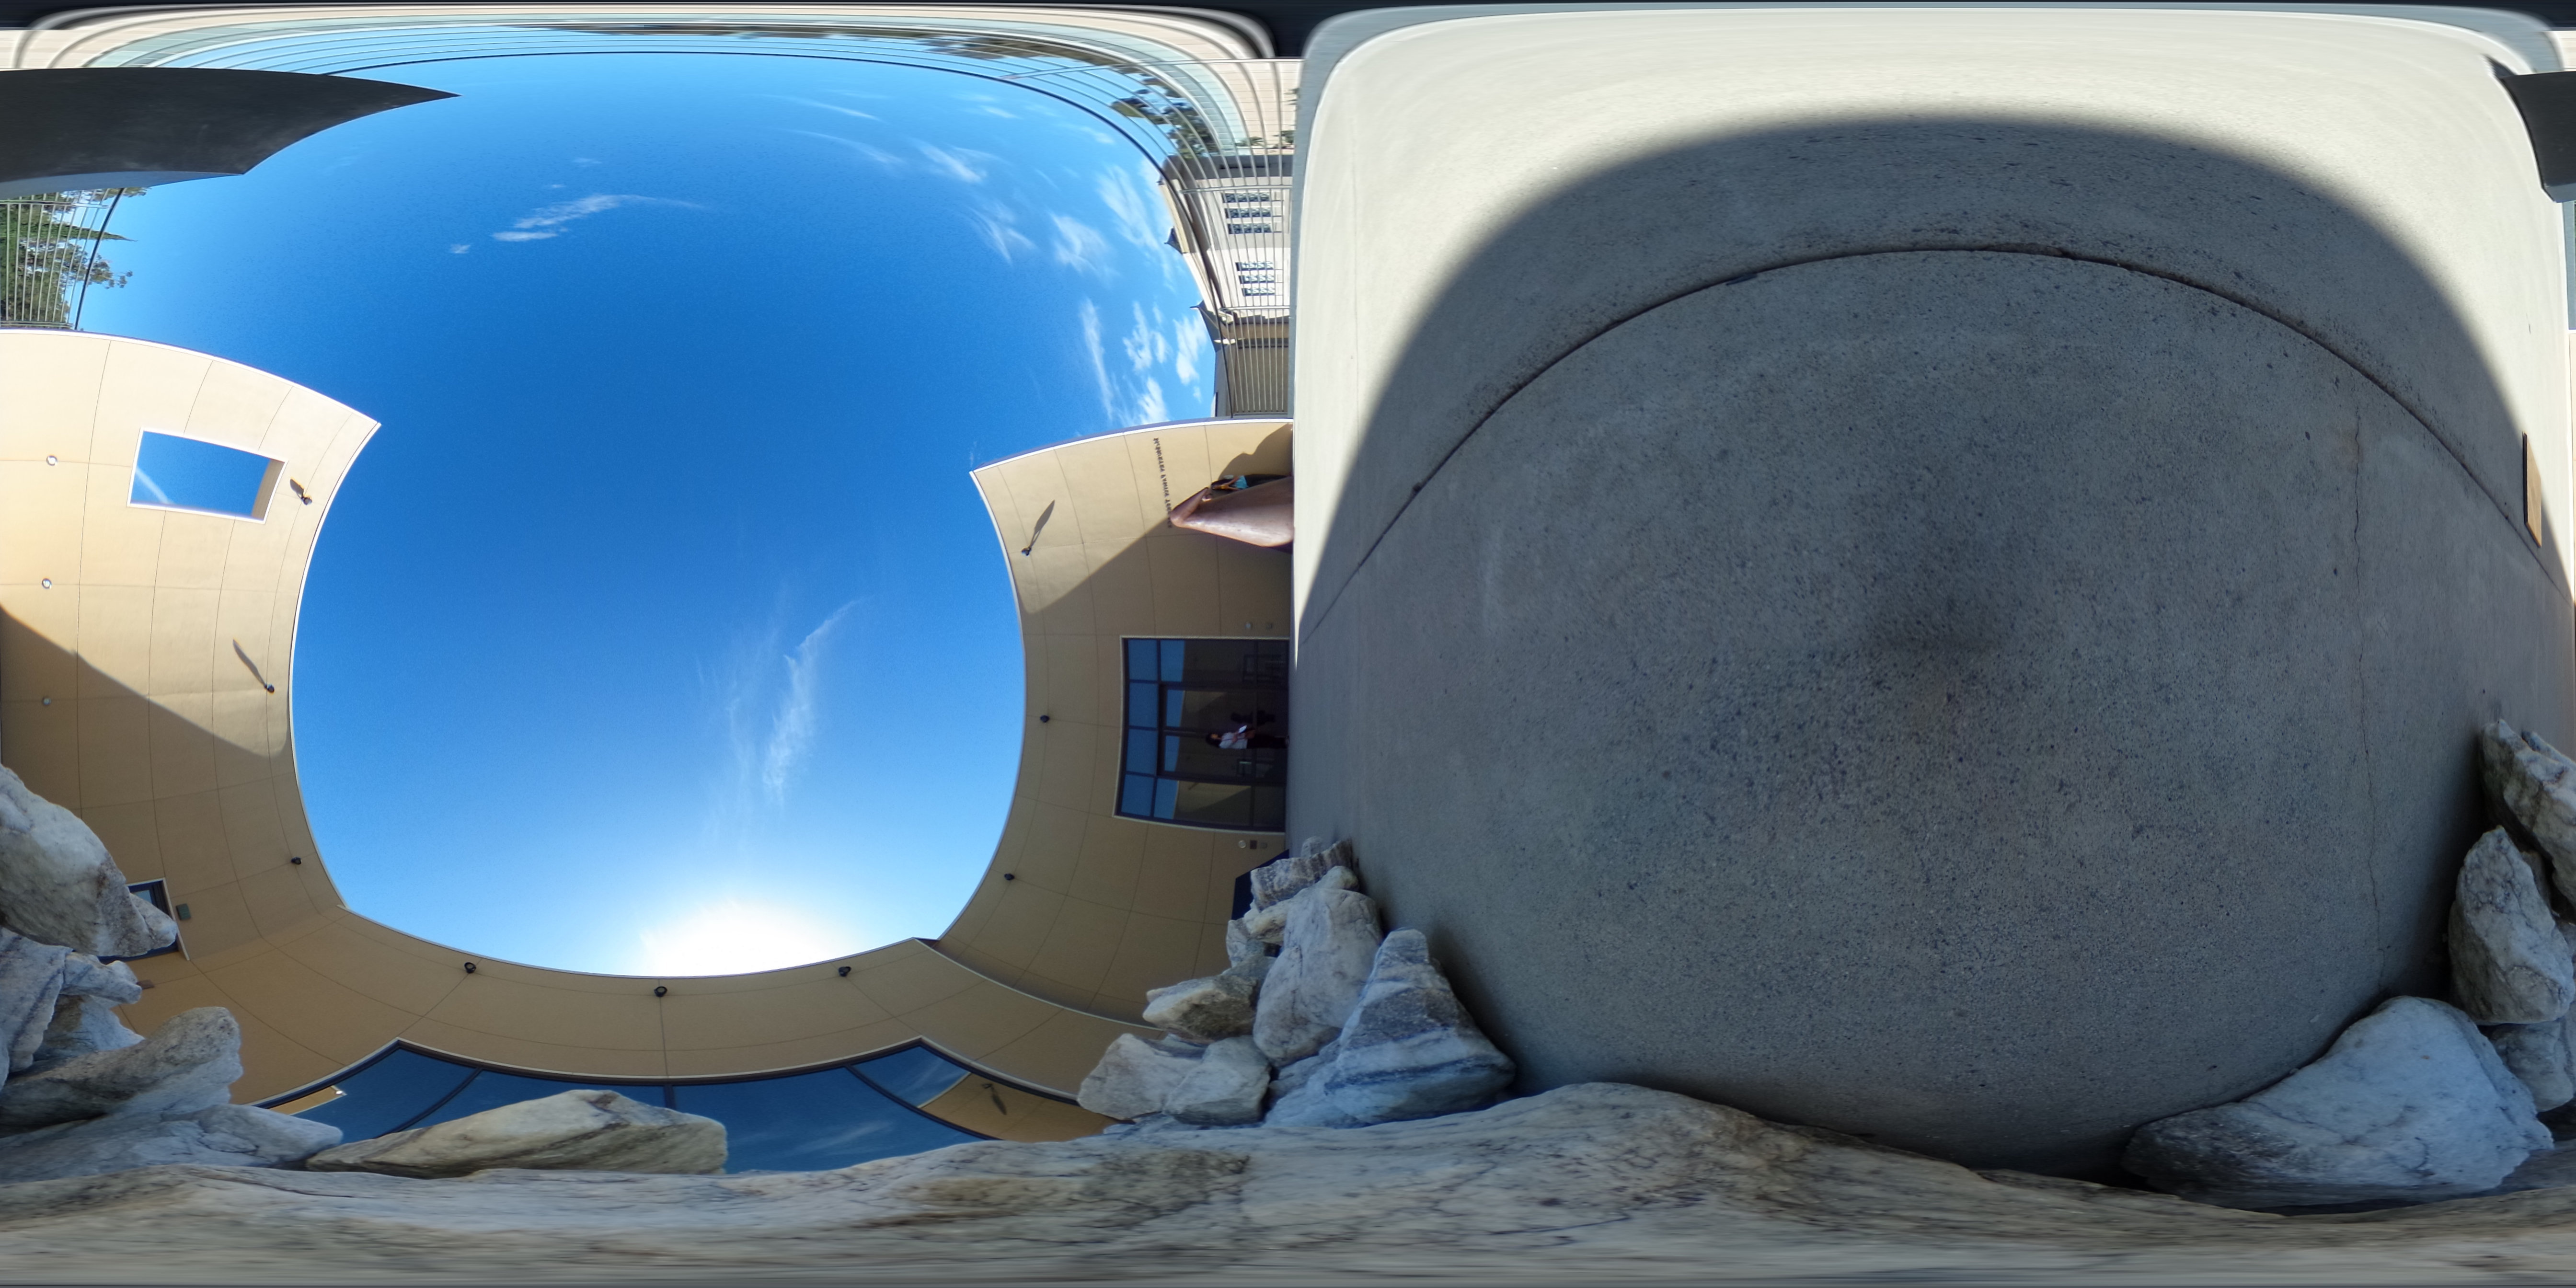
The above command will rectify the image.jpg file and output a new file called image_rectified.jpg.

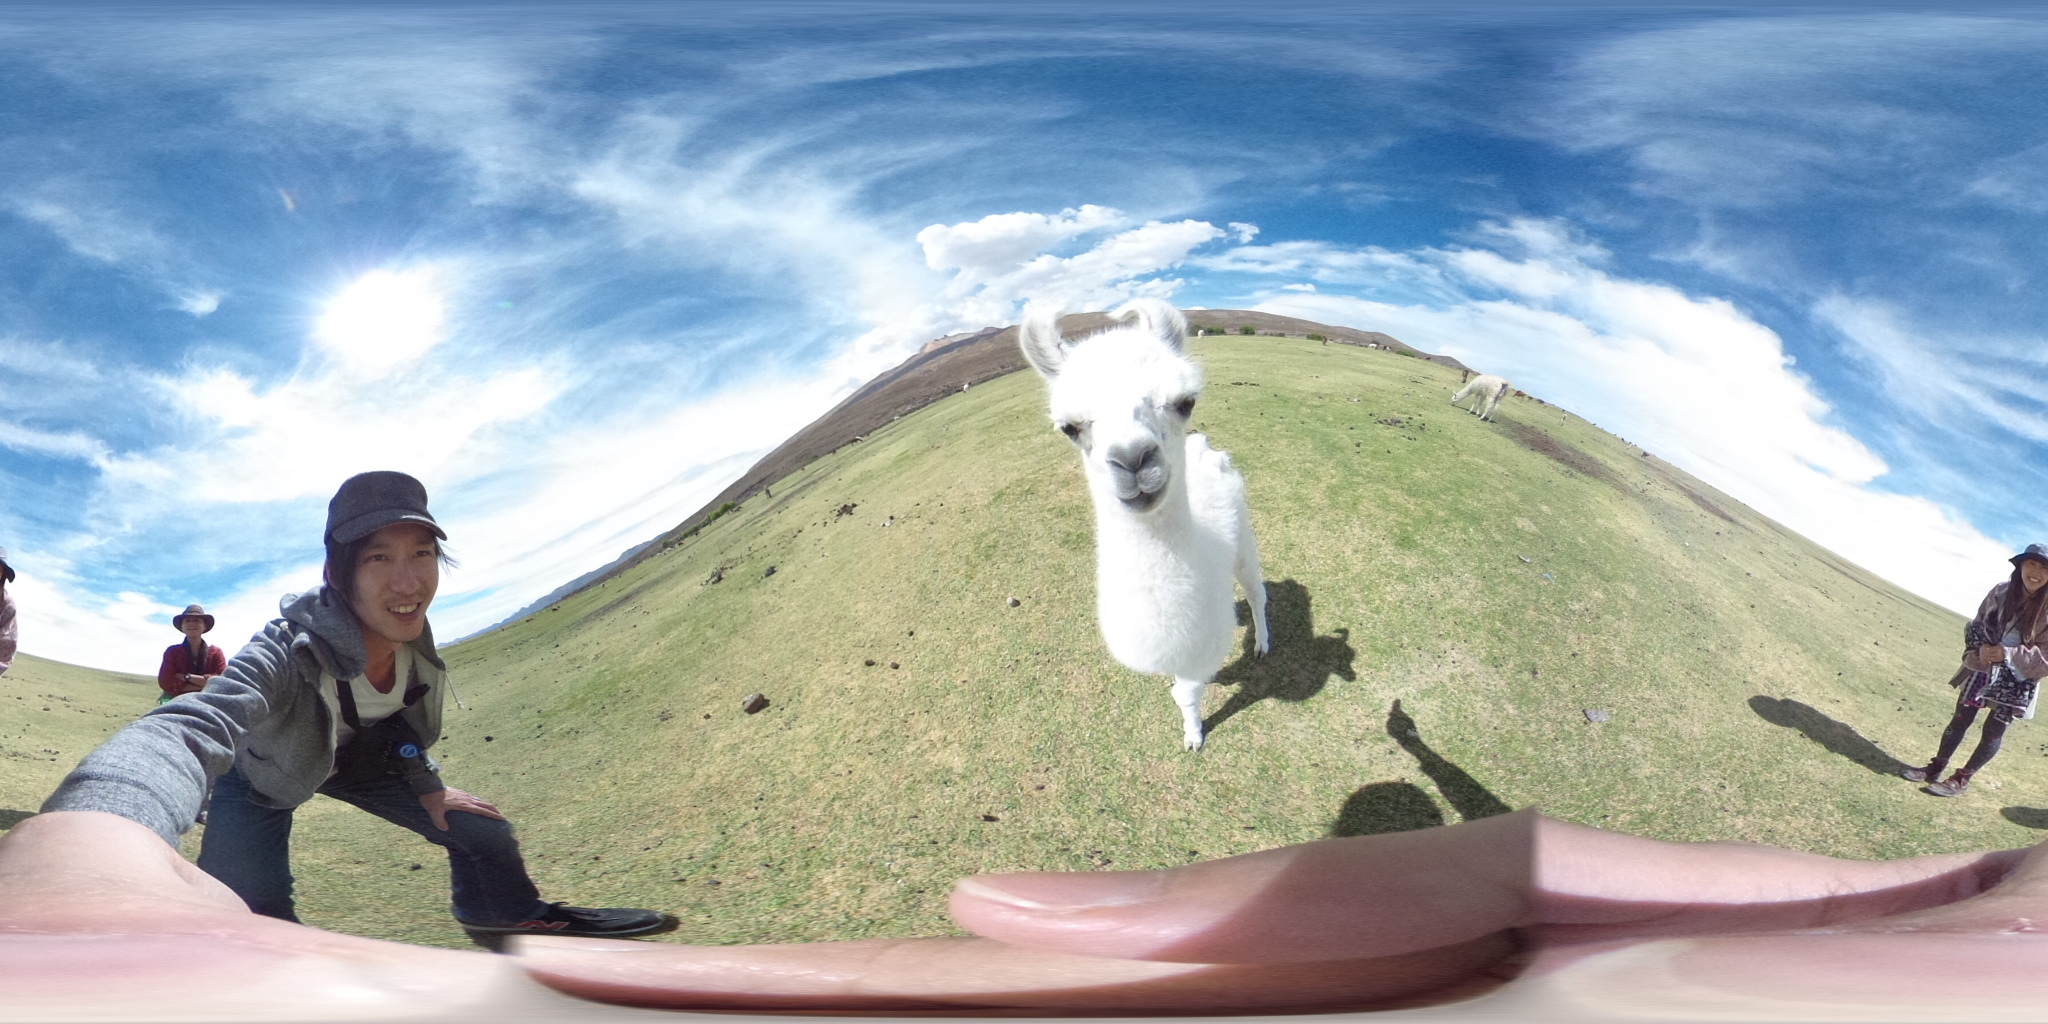
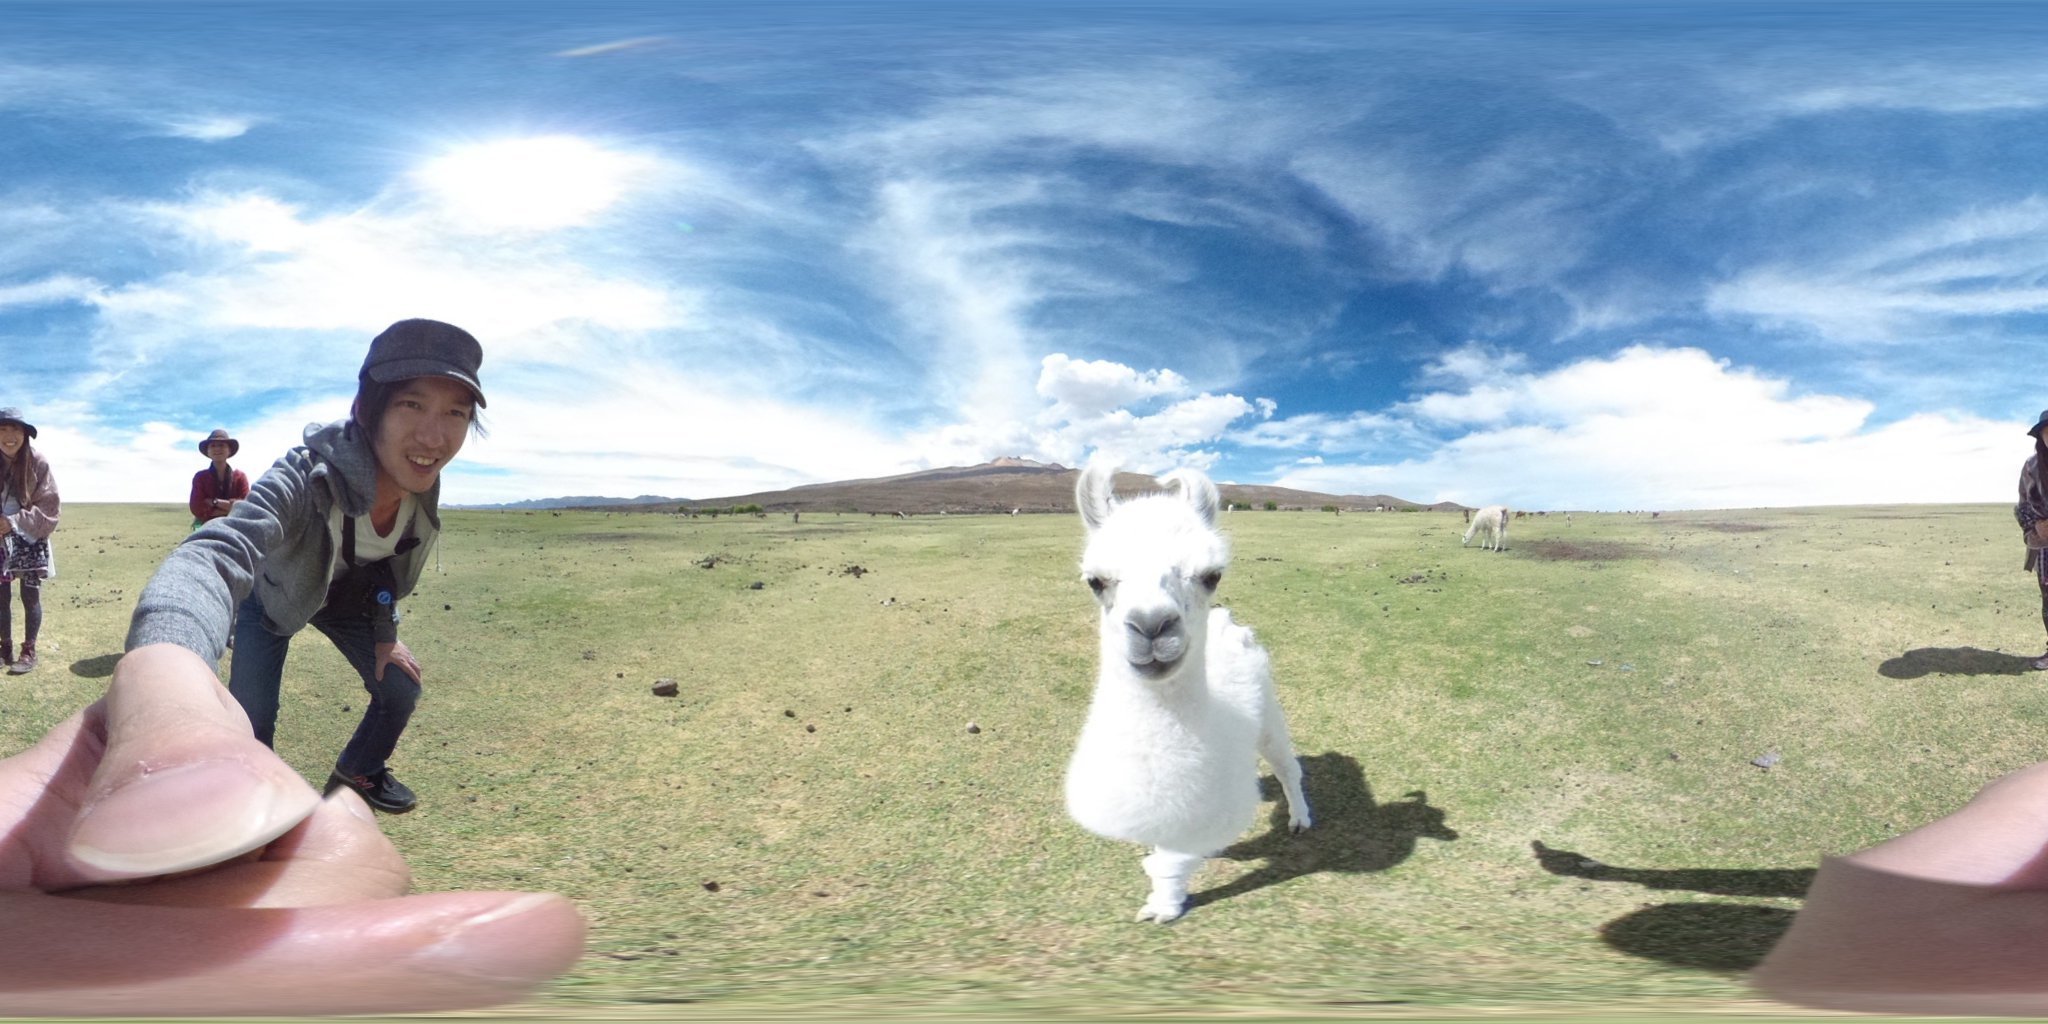
Visual comparison between my results and those of Regen’s python script show good correspondence.

Requirements

The script depends on a running copy of exiftools, imagemagick and POVRay. These tools are commonly available in most Linux distros, and can be installed on OSX using tools such as homebrew. I lack a MS Windows system, but the script should be easily adjusted to cover similar functionality.

2 Likes

Thanks. This will be very useful. I haven’t looked at POV-Ray in 15 years. This script took a fair bit of thought. Appreciate your reposting it.

As it has been a long time since I looked at POV-Ray, I didn’t understand the references to camera and sphere initially.

I read through the basic POV-Ray tutorial for camera and sphere.

http://www.povray.org/documentation/3.7.0/t2_2.html#t2_2

I then realized that your script was creating a tmp file with POV-Ray scene description information. I’m going to drop in the relevant tutorial section below in case someone looks at the code and wonders what camera and sphere refer to.

  camera {
    location <0, 2, -3>
    look_at  <0, 1,  2>
  }

The camera statement describes where and how the camera sees the scene. It gives x-, y- and z-coordinates. location <0,2,-3> places the camera up two units and back three units from the center of the ray-tracing universe which is at <0,0,0>. By default +z is into the screen and -z is back out of the screen.

look_at <0,1,2> rotates the camera to point at the coordinates <0,1,2>. A point 1 unit up from the origin and 2 units away from the origin. This makes it 5 units in front of and 1 unit lower than the camera. The look_at point should be the center of attention of our image.

  sphere {
    <0, 1, 2>, 2
    texture {
      pigment { color Yellow }
    }
  }

The first vector specifies the center of the sphere. In this example the x coordinate is zero so it is centered left and right. It is also at y=1 or one unit up from the origin. The z coordinate is 2 which is five units in front of the camera, which is at z=-3. After the center vector is a comma followed by the radius which in this case is two units. Since the radius is half the width of a sphere, the sphere is four units wide.

I think it would be fun to just create some simple objects in POV-Ray to become familiar with the syntax.

1 Like

Ideally I would use the script by Regen, but I can’t get it to work for now. Fusing it with phase correlation should allow me to 1. straighten the horizon and 2. and make images rotational invariant.

1 Like

And yes, I create a temporary .pov file with correct parameters as taken from the EXIF header. This is the easiest way to do this without creating too many files in the “package” to begin with.

2 Likes

It’s a clever solution. I like it. It’s more elegant as you just have one file. Once I realized that the camera and sphere were part of the POV-Ray file and then looked at the POV-Ray basic tutorial, it made sense.

Nice job.

1 Like

I had some fun after lunch studying Koen’s script to learn more about Povray and the x,y,z axis of the THETA images.

I’ll share my experience as other people may enjoy playing with Povray. I’m using Ubuntu 17.04. Povray and the tools were easy to install.

I started off with an image that my daughter took at the Cantor Museum on Stanford Campus.

I then applied an x rotation using the line below in Koen’s script.

 rotate x * 90

In the THETA viewer (on Windows) this is what I see as the default starting view

As that was visually interesting and also had navigation enabled, I decided to try to rotate the z axis. This is the rotated image in equirectangular format.

This is how it looks in the Ricoh Theta desktop viewer.

.pov configuration

In order to learn povray, I’m using a simplified .pov configuration file.

#include "colors.inc"
#include "shapes.inc"

camera {
spherical
}

sphere {
  // center of sphere
  <0,0,0>, 1
  texture {
    pigment {
      image_map {
        jpeg "museum.jpg"
        interpolate 2
        once
        map_type 1

      }
     }
     rotate z * 90
     // rotate x * 90
     finish { ambient 1}
  }
  }

Command Line

$ povray +W5376 +H2688 +fj  thetasphere.pov +Othetaspherez90.jpg
1 Like