We’ve been getting a lot of interest in HDR, lately. Not only from people interested in photography, but those interested in CGI and rendering believably-lit objects in 3D environments. I decided to take a look at HDR in general and how it’s working on the THETA.
So what is HDR?
This is probably a good place to start. HDR stands for “high dynamic range” and can be used interchangeably with HDRI (high dynamic range imaging). People pretty freely use both, and almost always mean the same thing.
HDR is a technique that attempts to give an image a similar range of luminance to what the human eye detects. The human eye constantly adjusts for a broad range of luminance so that the person using that eye can see detail in a wide variety of lighting conditions.
When trying to capture images in tough lighting conditions, with portions of the shot coming across very bright or very dark, HDR can help add detail to those sections by taking several different captures at different exposure levels and then combining those captures into one highly-detailed image.
To give you a quick idea of how HDR can add detail to sections of images without a lot of information, here are a couple of examples.
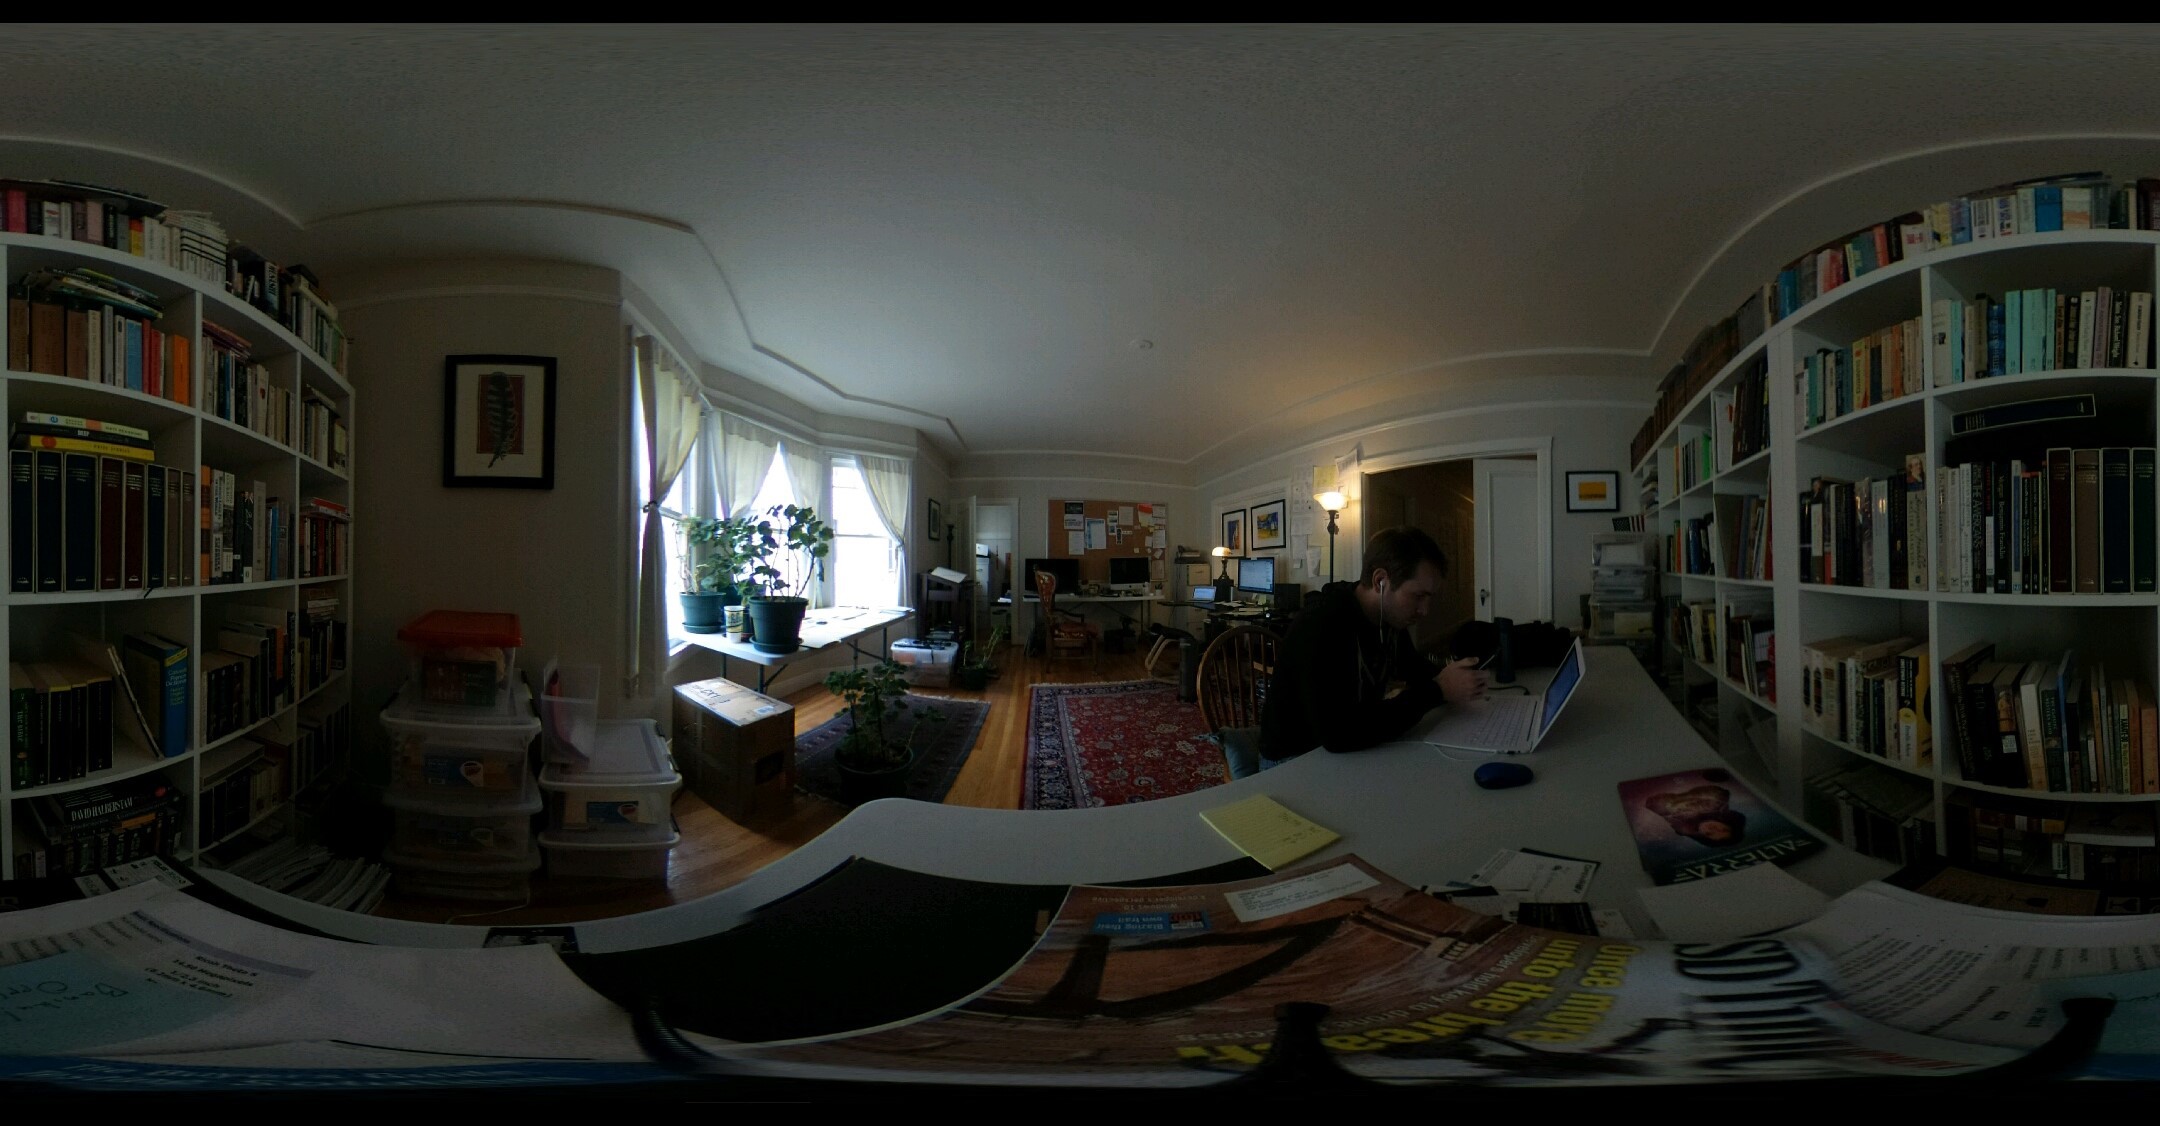
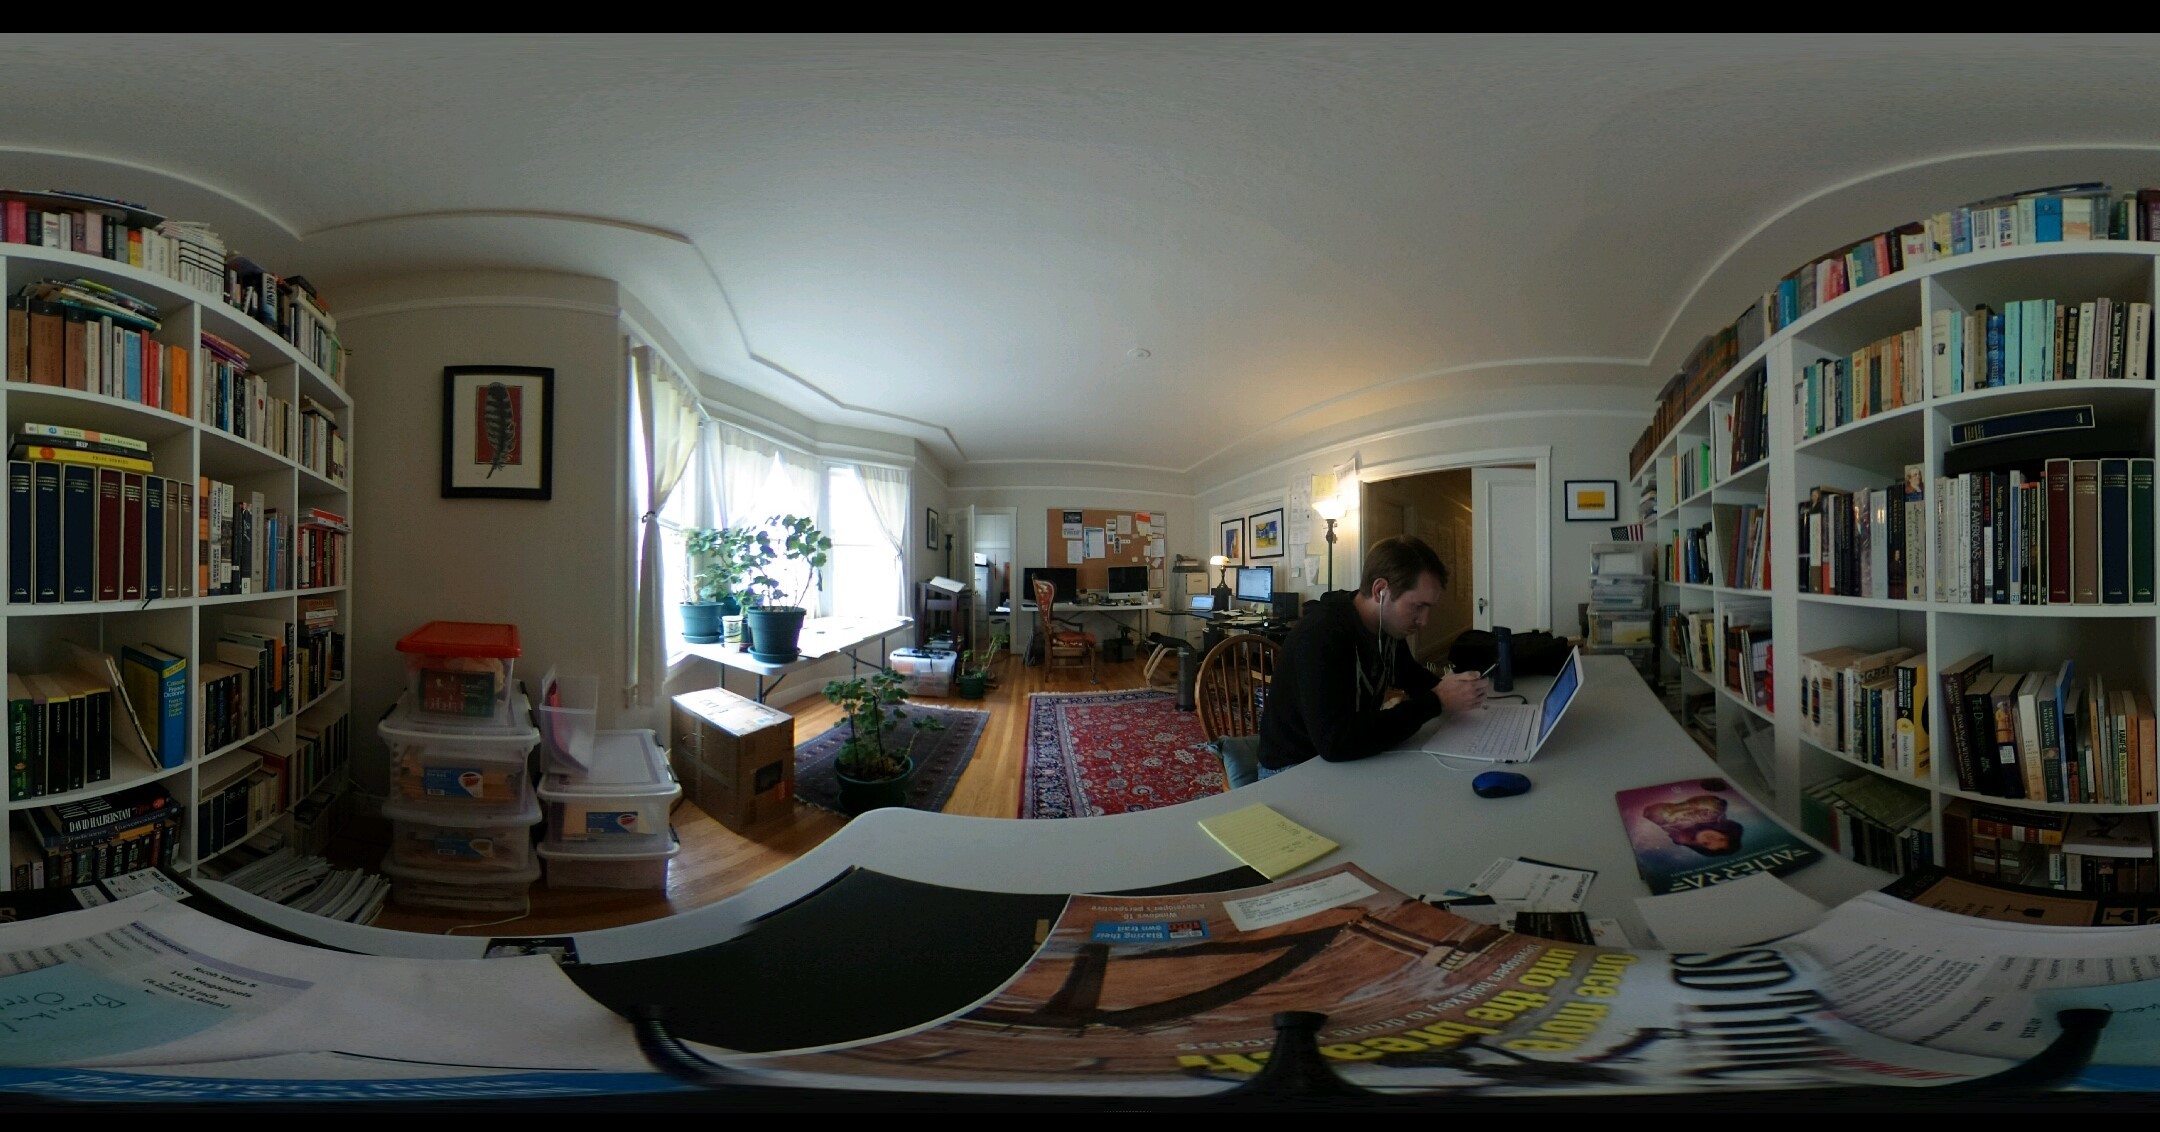
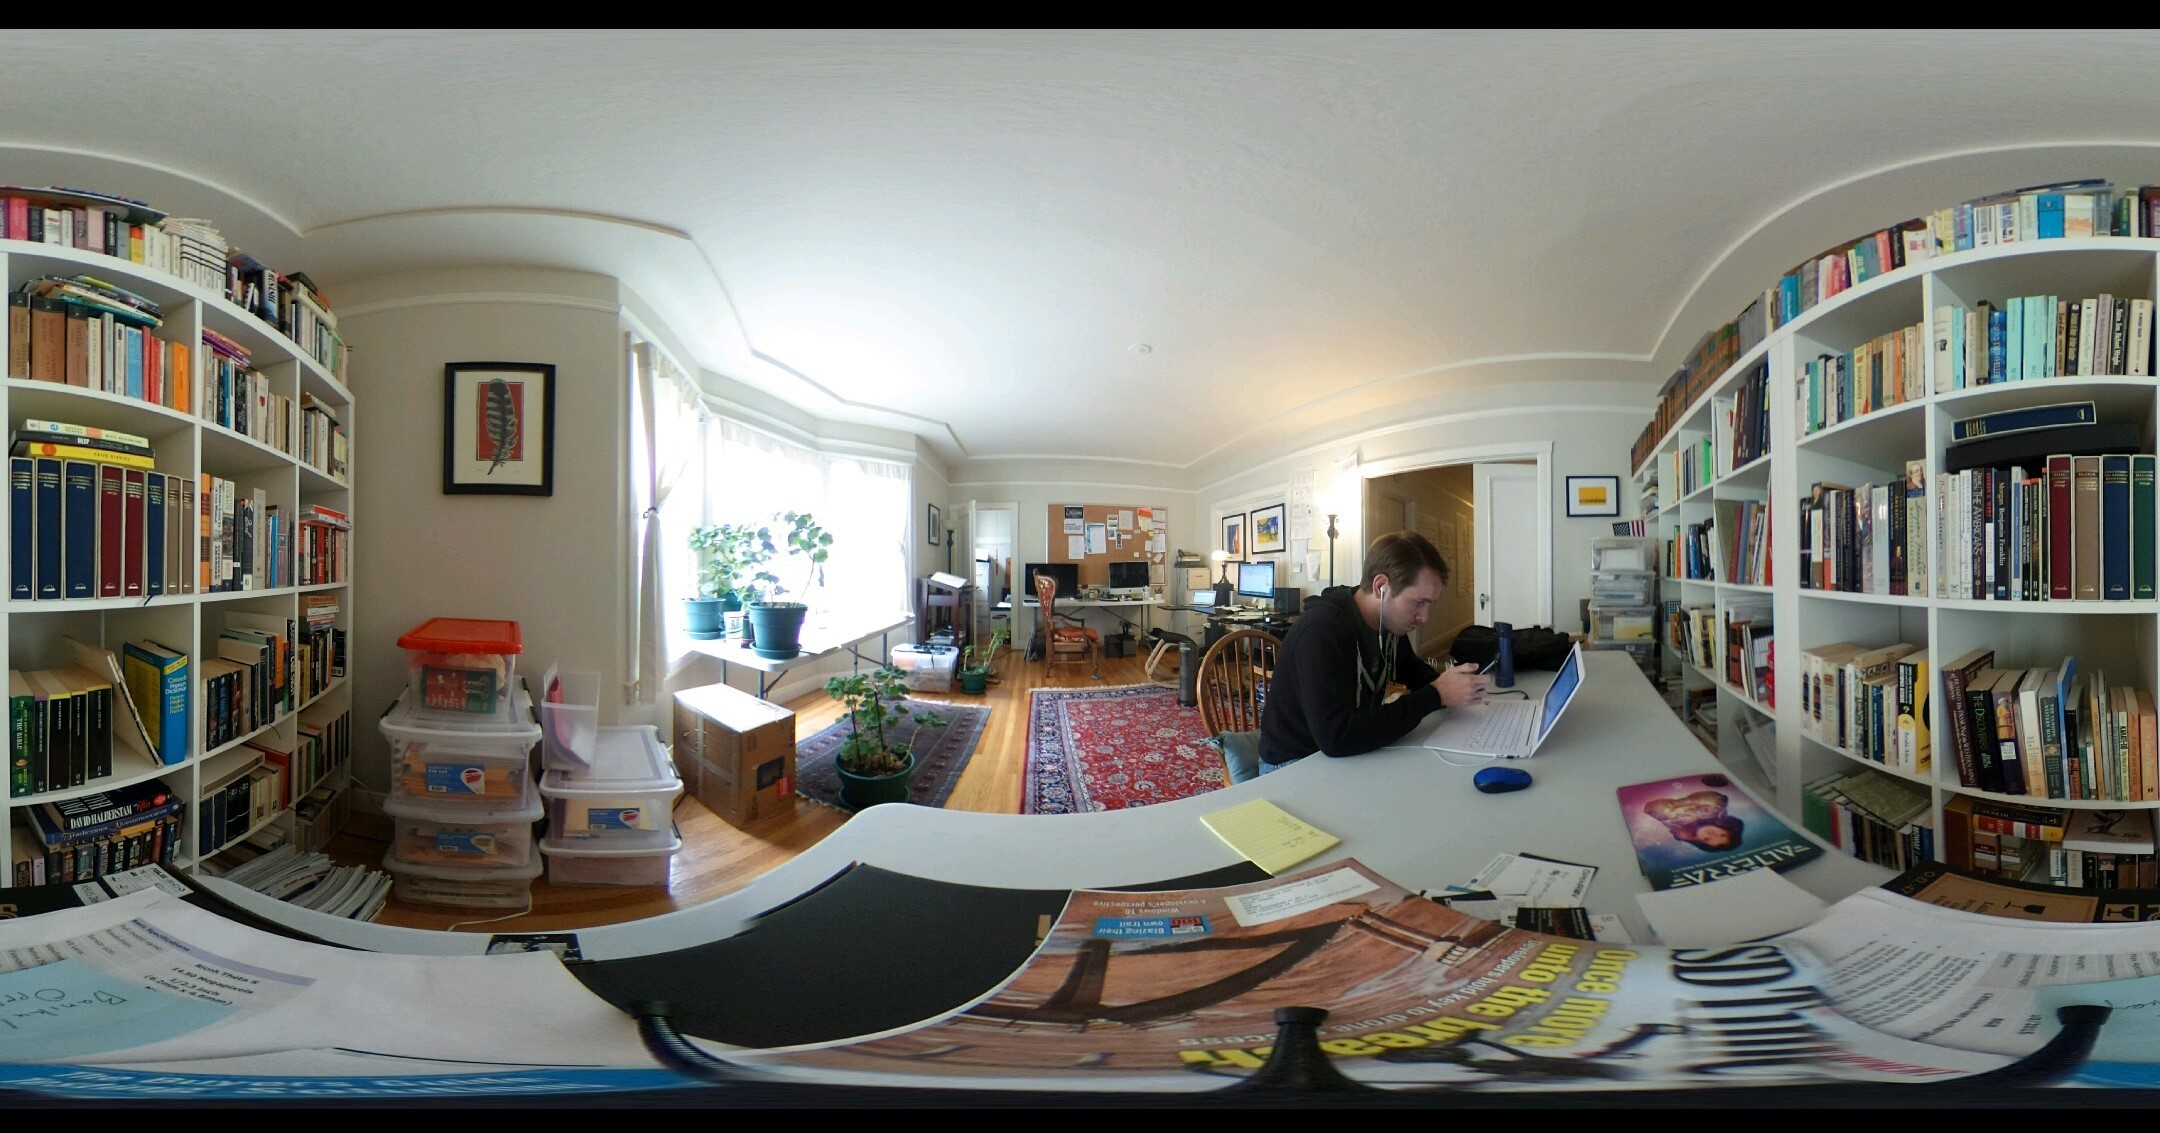
This image was shot on the “auto” setting - it’s up to the THETA what settings it wants to shoot with, and it only takes one capture:
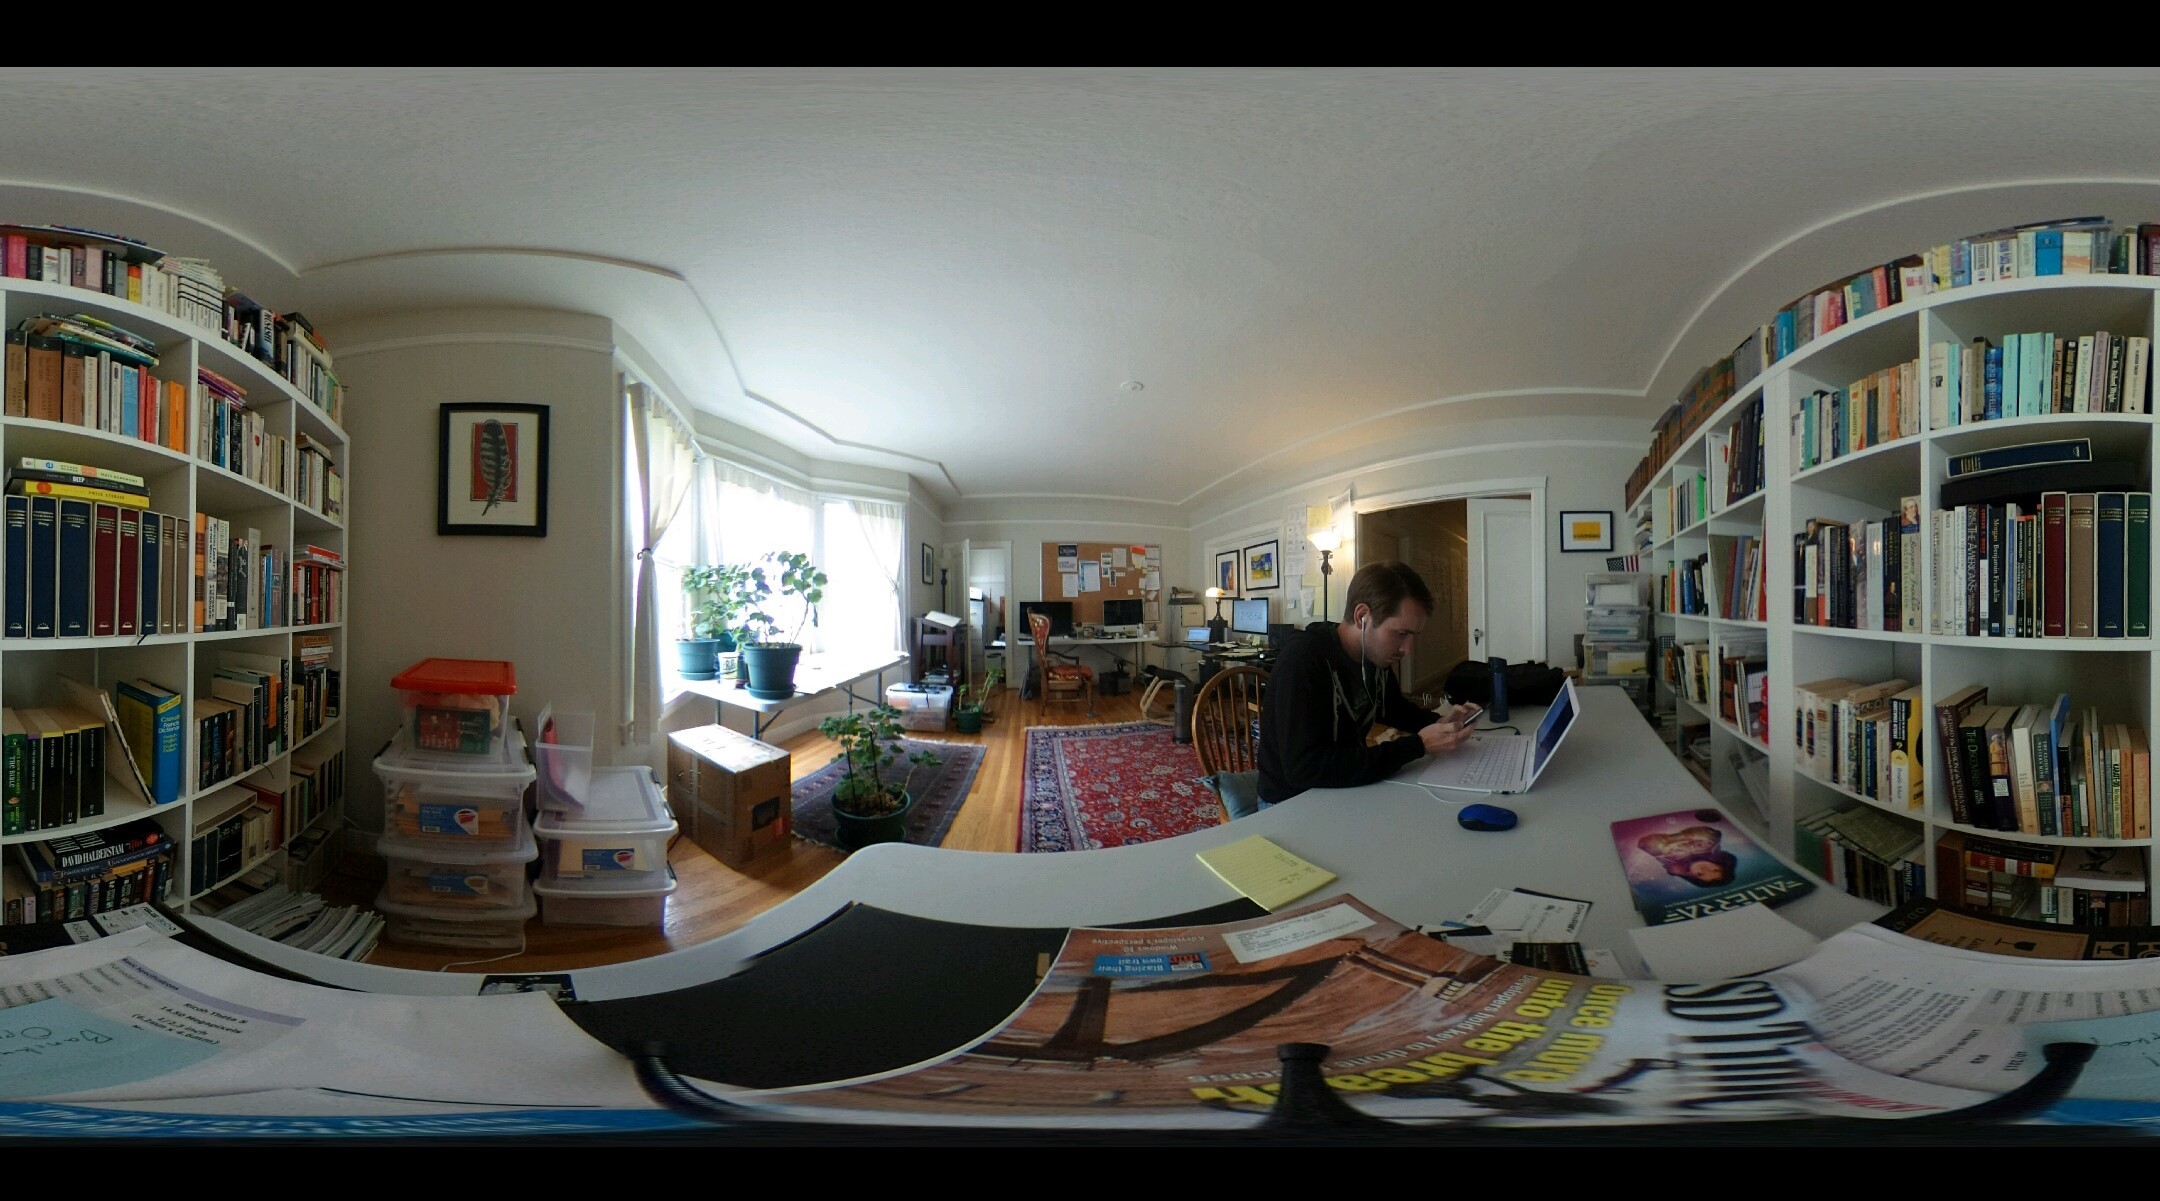
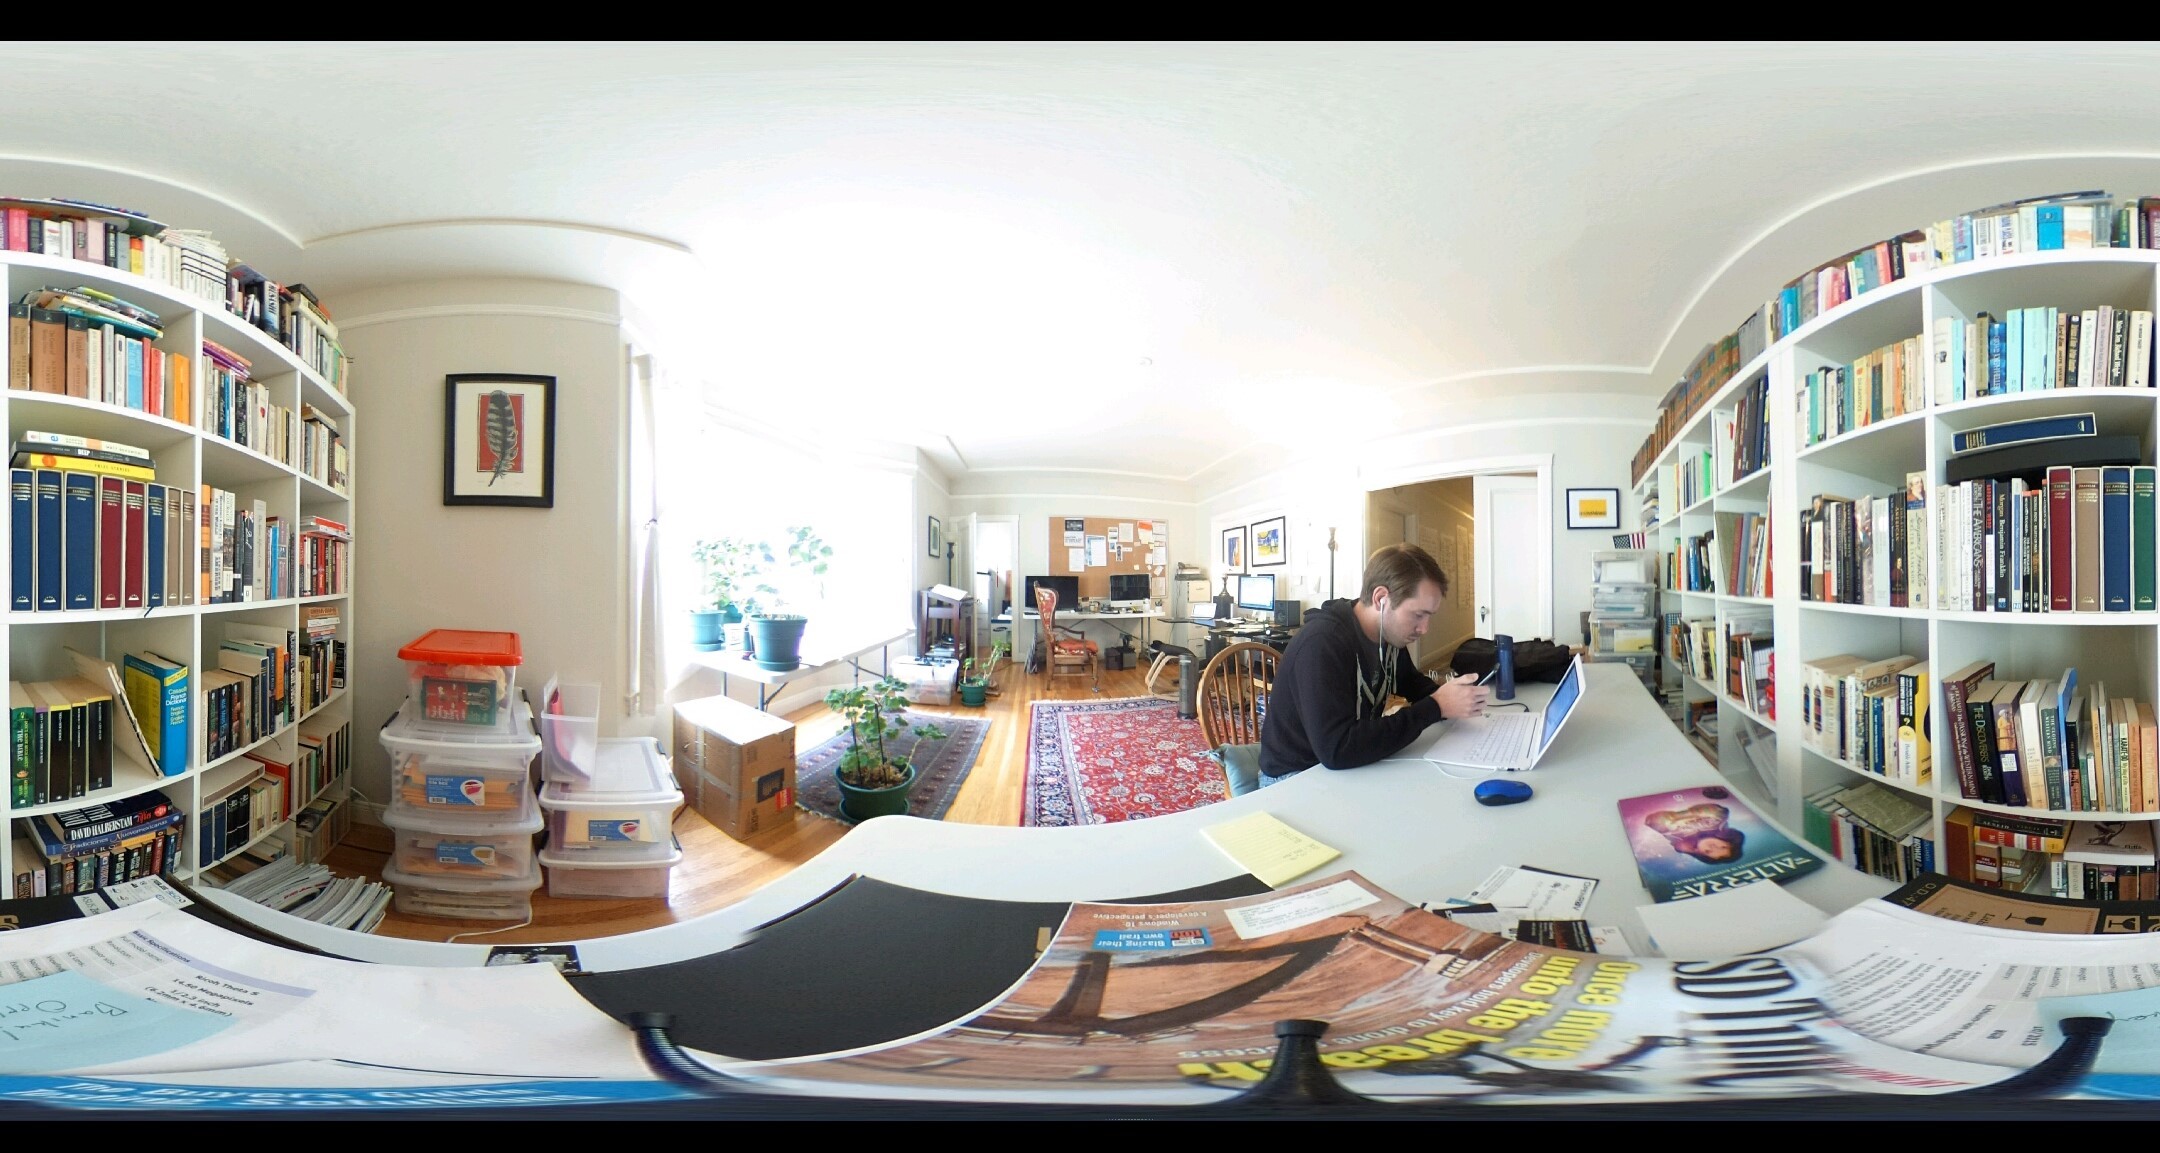
Here’s the same shot on the “HDR” setting - this time the THETA takes four captures at various exposure levels and combines them into this:
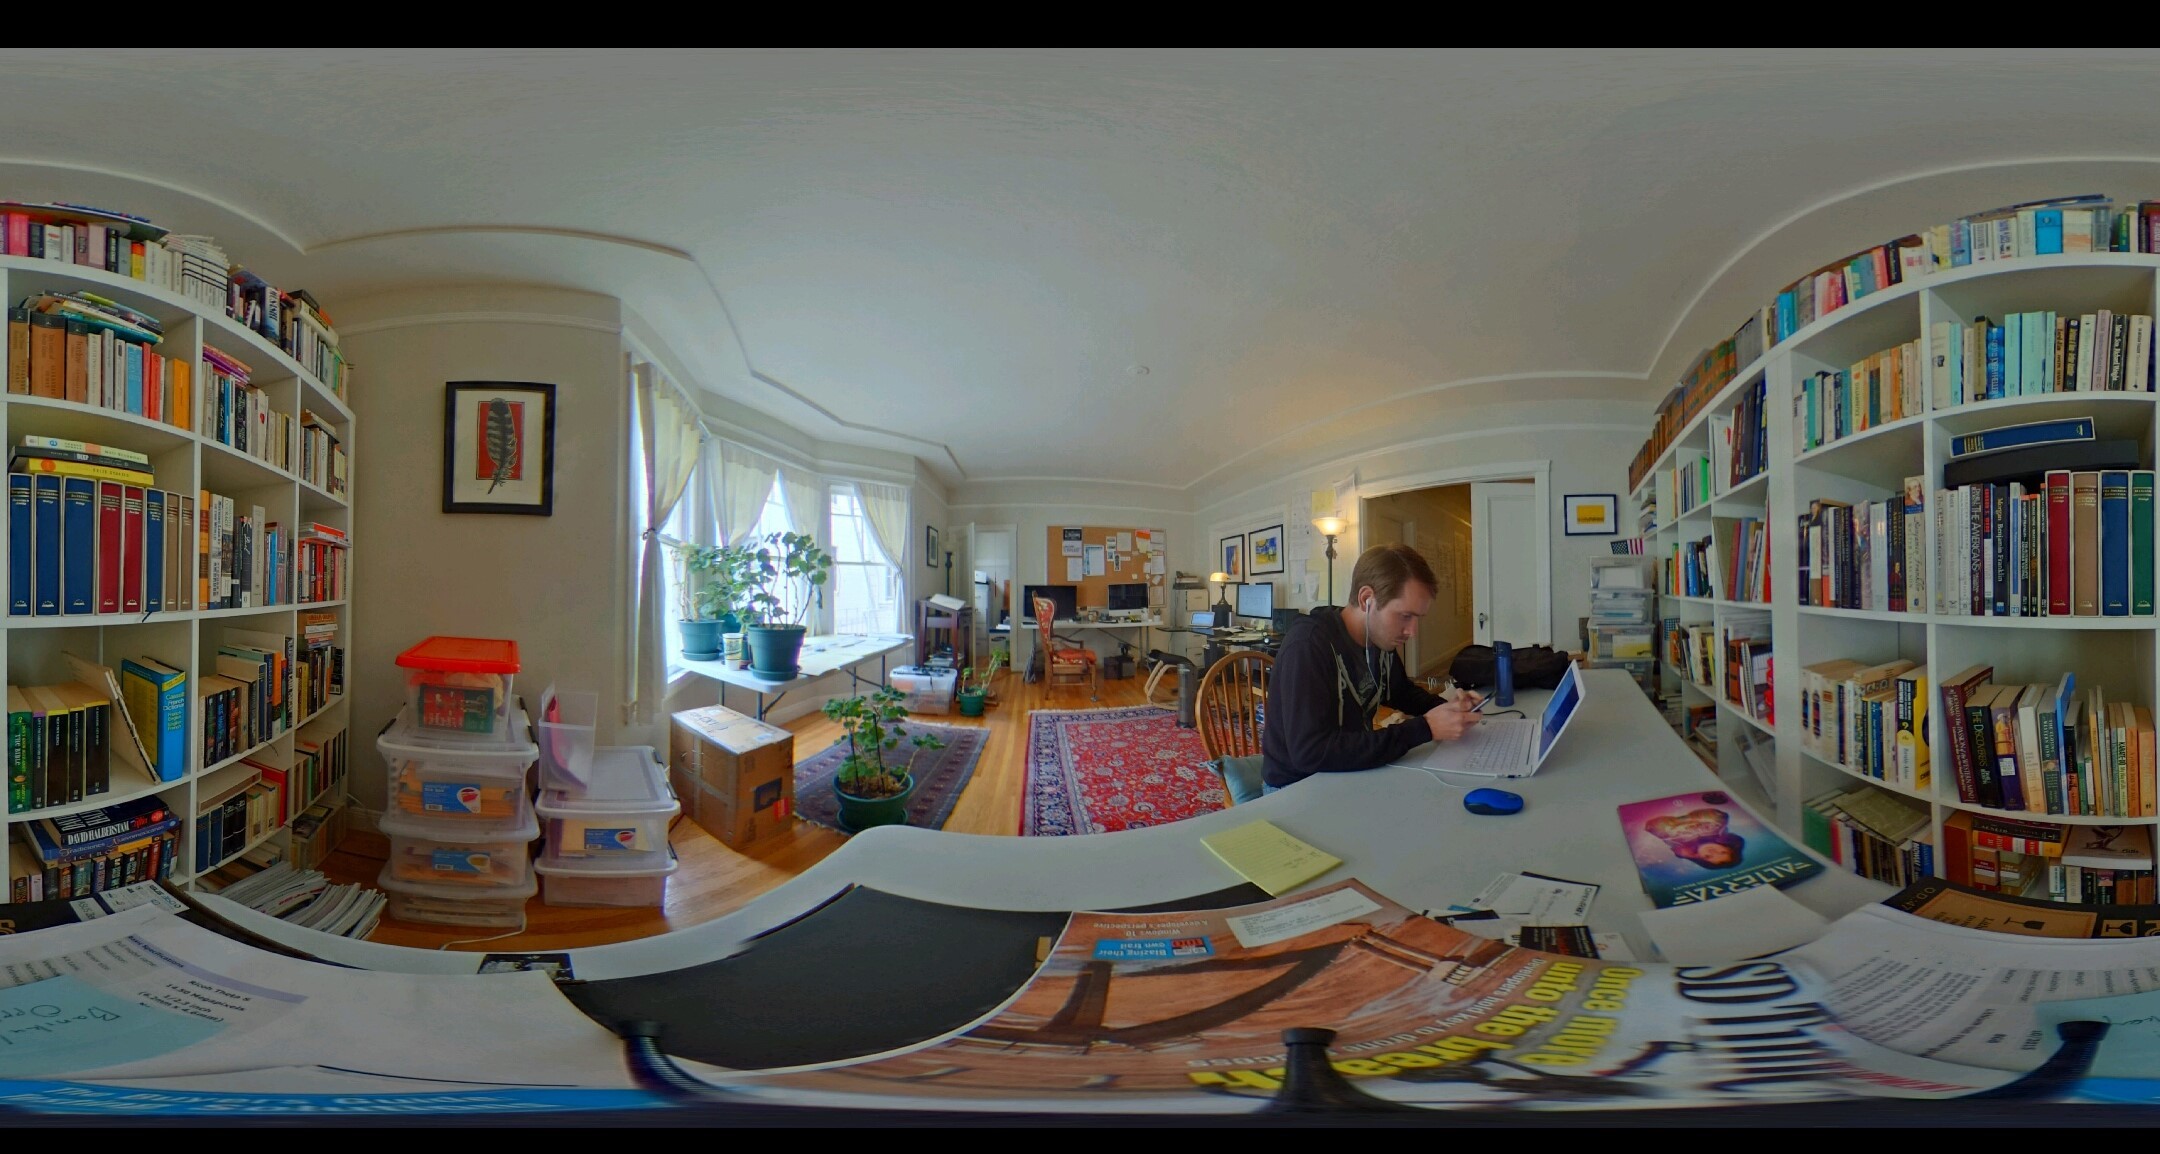
The most significant change, in my opinion, happens at the light sources. Take a look at how the windows and floor lamp change from image to image. And how even the radiance of the cardboard box by the window is altered drastically. It’s probably worth getting into how HDR works so you can make the most of the options Ricoh is giving you.
Exposure Bracketing
This is a huge part of the HDR capture technique, especially with the THETA. Exposure bracketing has to do with taking several images at different levels of exposure (for instance - one brightly lit, one balanced, one dimly lit) in order to select the best option. HDR takes exposure bracketing and merges the best details from these several exposures.
Exposure bracketing is one of the three pillars of photography. The other two are aperture and ISO. The aperture on the THETA is fixed, meaning you can’t adjust it, but you can adjust the shutter speed (called EV or exposure value on the THETA app; in fact there are tons of shutter speed levels) and ISO.
Aperture
Aperture isn’t strictly a photography term - it basically means an opening or a hole. This, on many cameras, is how you adjust how much light is getting through your lens. The THETA doesn’t allow you to adjust your aperture, but that isn’t something you’d likely want to adjust between captures for HDR, anyways.
Aperture controls depth of field (focus, really), and if you change the focus in every capture it’ll probably be a mess when you combine them all into an HDR rendering. Most of the time people want 360 images to be entirely in focus, so it makes sense that the aperture is fixed and optimized for 360 focus.
ISO
ISO stands for International Standards Organization, for some reason, and it controls how sensitive the sensor in your camera is for each exposure. The THETA has 13 steps from 100 - 1600, with 100 being the least sensitive to light. This means that, with a lower ISO number, it’ll need a longer exposure to get the same amount of light in the image.
ISO usually works in relation with shutter speed. If you shorten the shutter speed, you’ll need to increase the ISO, unless you want a darker shot. Of course, you don’t have to adjust. For HDR you’ll want a range of brightness levels, so you might want to leave the ISO low and just tweak the shutter speed.
This is also a good idea for post processing, because when you combine captures to form your HDR image, that combining ends up multiplying the noise in the image. Noise is the grain that can happen in high-ISO shots. These multiplying ISO levels can get out of hand in a hurry if you’re starting with ISO 400, for example. If you take four captures as the basis of your HDR image, you’ll be multiplying the ISO level by four in the final image. This means that your final image will look like it was shot with an ISO 1600 setting. Ideally, you’ll be able to keep your ISO setting as low as possible.
THETA HDR
An update to the THETA app, late last year, gave you the ability to easily capture an HDR image. It takes care of the processing for you - all you have to do is hit the button. If you select this option, the THETA will take four captures and combine them into one image.
From the update: “When shooting with HDR Rendering, four images with differing exposure parameters can be shot and rendered to generate images in a broad dynamic range. Secure the camera to a tripod, etc. before using this function.”
The pictures I put at the top of this post are from the automatic (single image capture) and the automatic HDR options on the THETA app. If you want more control over your HDR capture - adjusting the shutter speed and ISO on your own, for example - you can have it. I decided to experiment a little with the kinds of images I could capture with different EV settings.
I took 5 captures, mostly because many online HDR tutorials suggest anywhere between 3 and 7, but that’s also usually with an automatic light meter that will give you one balanced capture suggestion that you can then extrapolate from to set your other capture parameters. I’ll probably try to merge these captures into one HDR image in GIMP or another editing program but, for now, here they are. They run from shutter speed 1/160 to 1/10, keeping the ISO steady at 100.
1/160
1/80
1/40
1/20
1/10
<img src="/uploads/default/original/1X/ba93f3aca1309299658e9e49045fd650a8c3536e.jpg"width=“690” height=“369”>
Looking forward to comparing my results against the THETA app’s!
Update: If you want to see how I manually made HDR 360 pictures, take a look at my post on making HDR 360 images with GIMP