A few days ago, I made this Tiny Planet montage video using the Ricoh THETA S and DaVinci Resolve. Here’s what you need to make a video like it:
First you’ll want to go outside and flop around with your THETA. Try to find open spaces with tall objects or plant life at the outskirts. Or find a way to get your camera on top of a car and take a drive. If you can get your THETA on a cat, I’d love to see the results. The basic idea is - experiment. Try to get a variety of perspectives and actions to fill out the video. Once you have enough recorded, we can get started.
If you have the THETA+ Video app on your phone, actually turning the 360 captures into tiny planets is pretty easy. First you’ll want to open your THETA S app, head to the “camera” section, and transfer the 360 videos you just recorded. Once you transfer all your videos, switch to the THETA + Video app. Here you can select your videos and edit them.
Once you select your video, the app will convert the information into a 360 movie instead of two spherical images. When it’s finished processing, hit “Cropped Video.” Your video should start to play on its own.
Click “View” in the menu at the bottom of the screen. This will open another menu – one that has the “Little Planet” option on it. When you hit “Little Planet,” you’ll be able to use your fingers to alter the perspective of the video, including changing how zoomed-in or -out it is. Once you have the tiny planet video in a perspective you like, hit the arrow in the top left of the screen to head back to the main menu, then hit “save” in the top right.
Saving will take a little time, but once you’ve done this to all your videos, you can really get going. Transfer the files to your computer and open DaVinci Resolve. In Resolve, click “New Project,” then open the project. Take a moment to add all of your clips to the media pool – you can just drag and drop them in.
When you drag the clips in, you’ll see this box
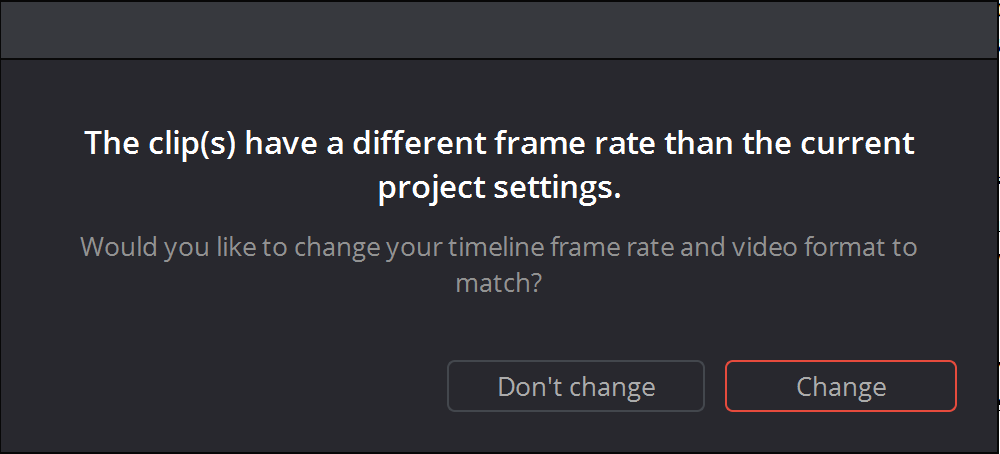
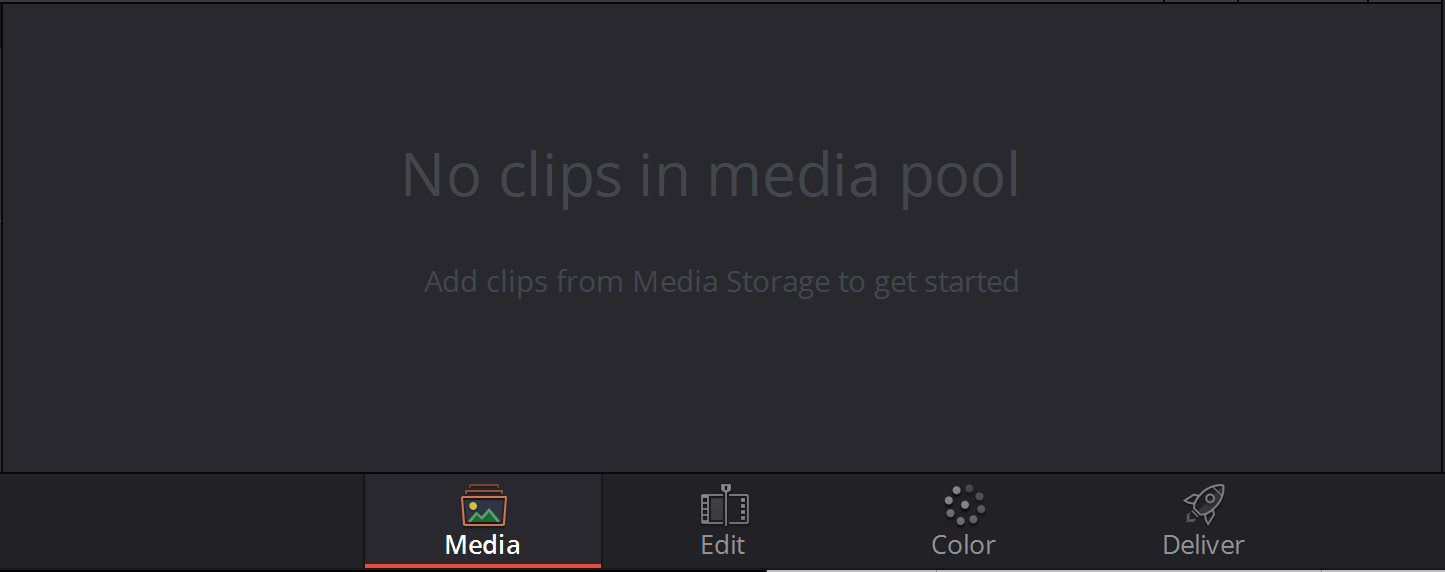
I hit “Don’t Change” when I made mine, and the frame rate looks pretty smooth, but I’m honestly not sure which option is better. Or maybe I just fear change. Either way, your media pool should be populated with the clips you imported, but you can’t do much with them in the “Media” tab, so hop on over to the “Edit” tab.

If you don’t see your clips anywhere, hit the “Media Pool” tab at the top of the page.

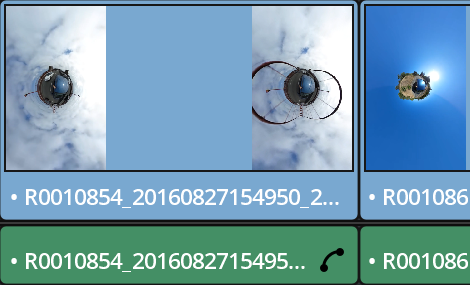
And you should be ready. You can drag the clips from the Media Pool into the timeline. Resolve will automatically separate the video and audio tracks, and you can change the size of each track by clicking and dragging the horizontal lines at the top of the V1 box and the bottom of the A1 box. I made the video track pretty tall because when you make it taller you’re given a frame that helps you track which clip is which.
You can trim, cut, and rearrange your video clips pretty easily by using “Trim Edit Mode” and “Razor Edit Mode.”
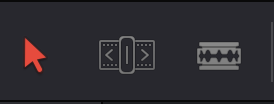
Trimming the clip let’s you adjust it’s start and end points, while razoring the clip let’s you hack it apart and rearrange it. I almost exclusively used Razor Edit for my video.
If you want to replace your audio track so it isn’t just a bunch of weird dialogue and heavy breathing with no context, it’s also pretty easy. Just mute the audio track your videos come with (next to A1) and import the audio track you do want. In my case, that was an mp3. If you walso want to use a .mp3, you’ll have to convert it to a .wav file first. I used this website (Convert audio to WAV) and got good results.
You’re almost there! If you don’t want huge black bars on either side of your finished video, you’ll have to use the zoom feature in Resolve. Do this by heading to the “Color” tab at the bottom of the window.

In this section, a “Sizing” area should be in the bottom left. You should see “Zoom X” and “Zoom Y” boxes. Adjust the numbers in the boxes to increase (or decrease, if you want?) the zoom. This will help make the video be more readable on smaller screens, as well as reduce the huge black margins on either side of the video. Here’s what my video looked like before I zoomed:

And here’s what it looks like now:

Once you’ve finished zooming in on all your clips, head to the “Deliver” tab at the bottom of the window and start exporting your project! You can select how you’d like the video to be exported by clicking around the top left of the screen. I set mine to: YouTube > 1080p, and used the automatic settings for the rest.
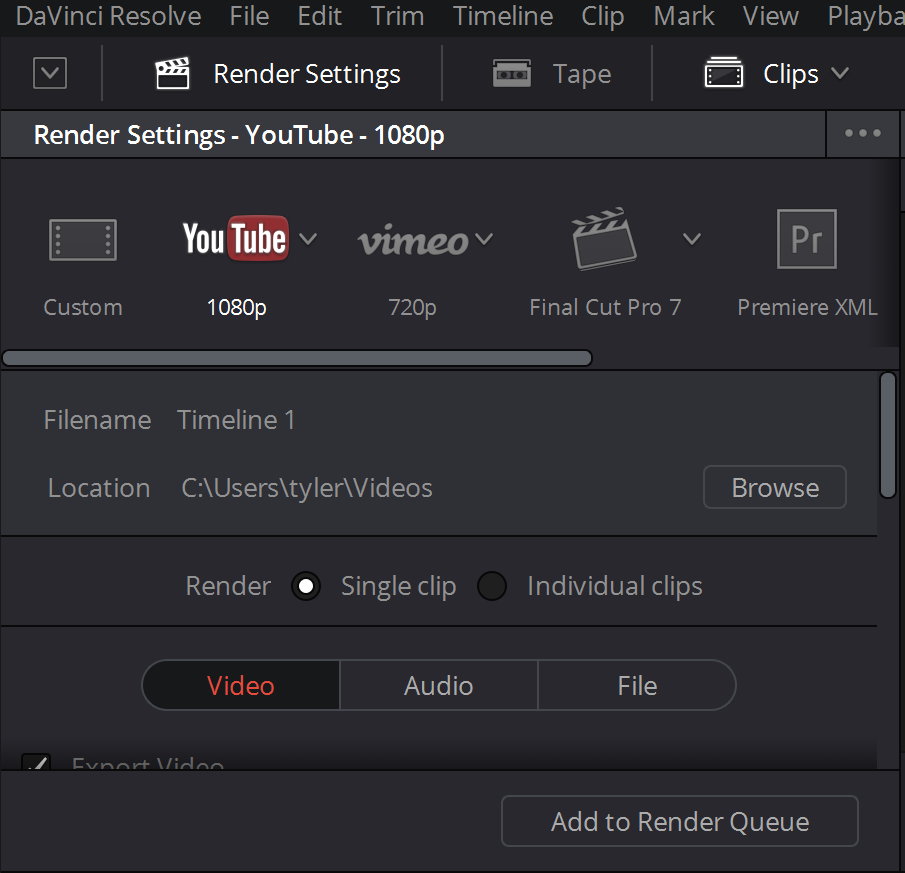
Then you’ll want to hit the “Add to Render Queue” button, which will move the video to the Render Queue in the top right of the window. The render won’t start, however, until you click the “Start Render” button. Then you’ll want to relax for a bit, because the rendering process takes a little while (about 15 minutes for my 2 minute video).
That’s it! You’ve done it! You should have a working tiny planet montage video to show off to your friends and colleagues. Let me know if you found any tips to make the process easier, or if you find any nifty edits you can make while performing these operations.